 |
 |
 |
 |

|


|
|
|
|
|
|
#1
|
||||
|
||||
|
W123 Tie/Drag Rods and Idler Arm Rebuild DIY
Another in my set of DIY based upon recent work performed on my 1982 300CD. I had a torn tie rod boot, and some knocking/play in my idler arm, so it all got rebuilt/replaced. This is how it was all done. All of it was quite easy, and is less than a day's work.
Tools needed: Impact/lug wrench Jack/jackstands Pickle fork (optional) Tie rod/pitman arm/balljoint separation tools Allen wrenches Combination wrenches Ratchets, 3/8, 1/2 and even 3/4 drive if available Adjustable wrench Needlenose plier The first key to the project is to get the car up in the air. Jacking it up and putting it on jackstands is the preferable method. I use a Heavy US-made 2-ton hydraulic jack to lift up the front from under the engine support. 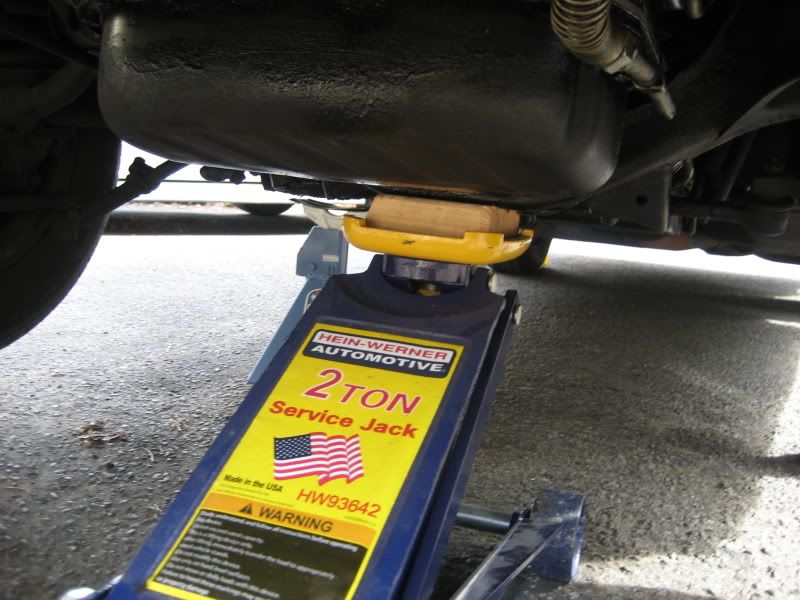 Of course then the wheels must come off. I locked the steering wheel in position so that at least the box and its arm would be correct, thus forcing the idler arm to be correct and hopefuly letting me size the new tie rods in place. More on all that later. An impact gun always helps to make it easy. 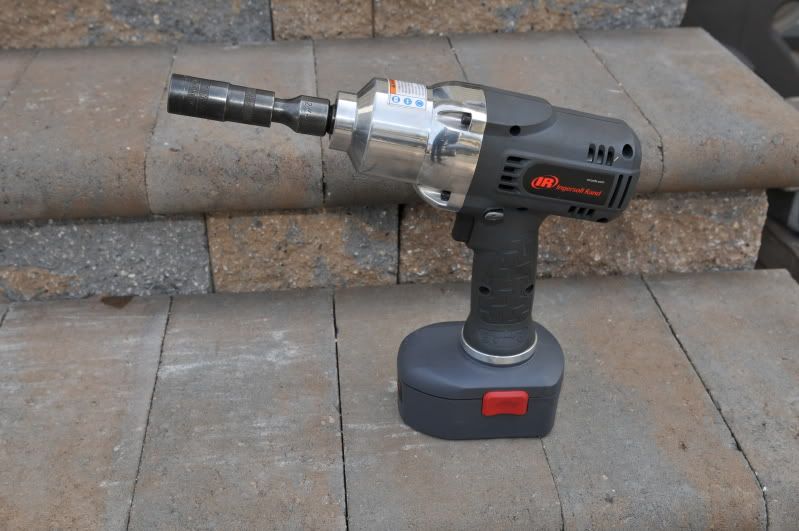 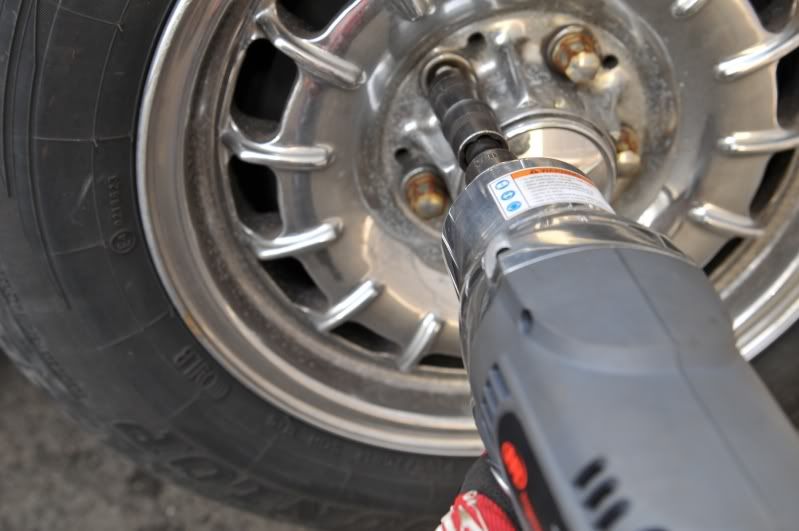 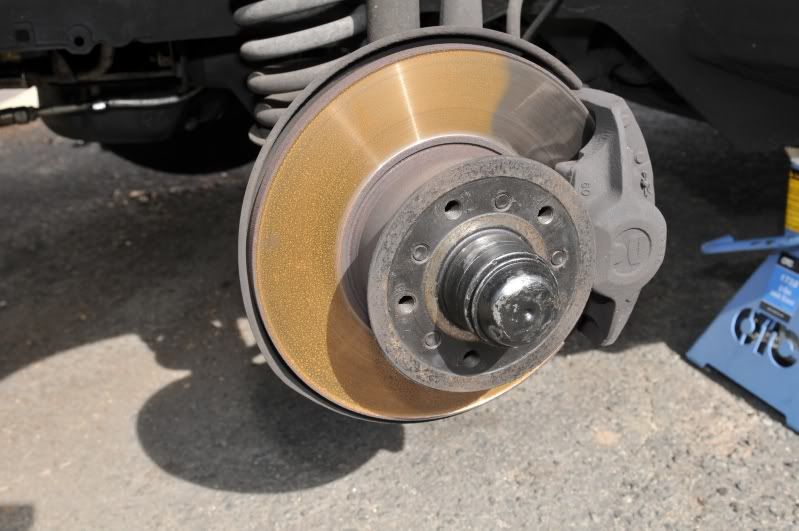 I started from the passenger side just because that was where the torn boot was. It wasnt bad, not rusty or terribly dirty, but was contributing to play on the wheel. 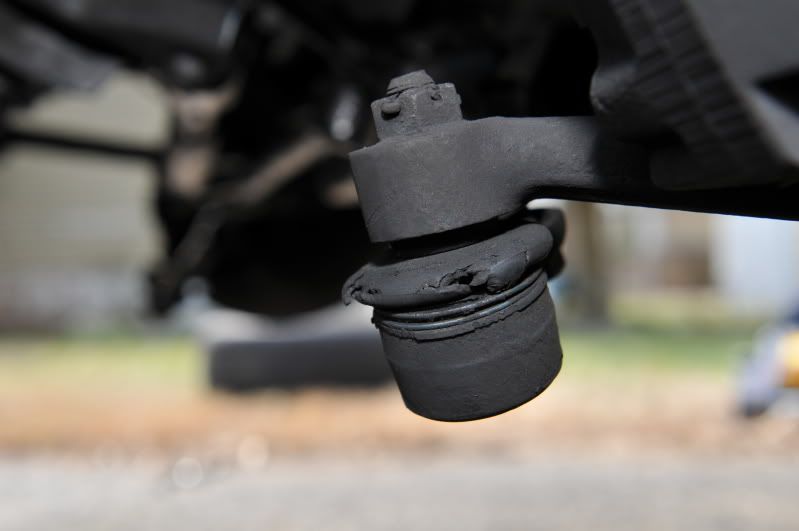 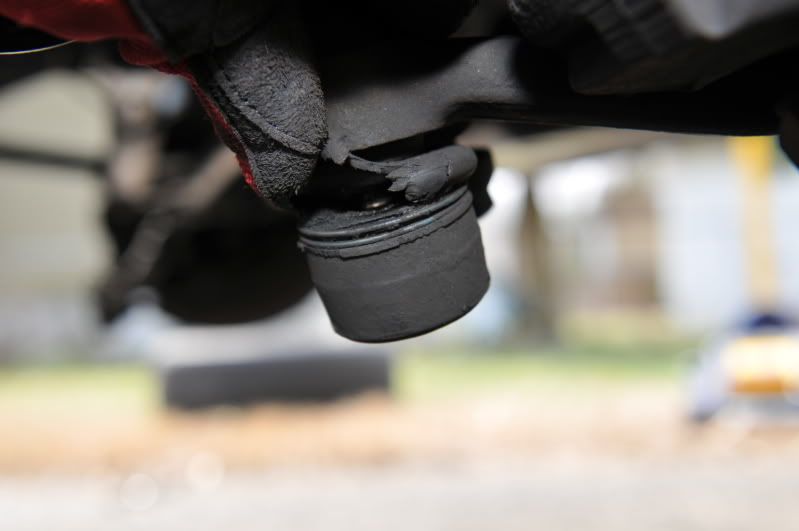 New style tie rod ends utilize a locknut generally, but older ones utilize a castle nut and a cotter pin. I dont know that either is better/worse, but the cotter pin type needs a needlenose. You simply bend the cotter pin and then pull out, after which the nut on the tie rod end balljoints can be loosened and removed. 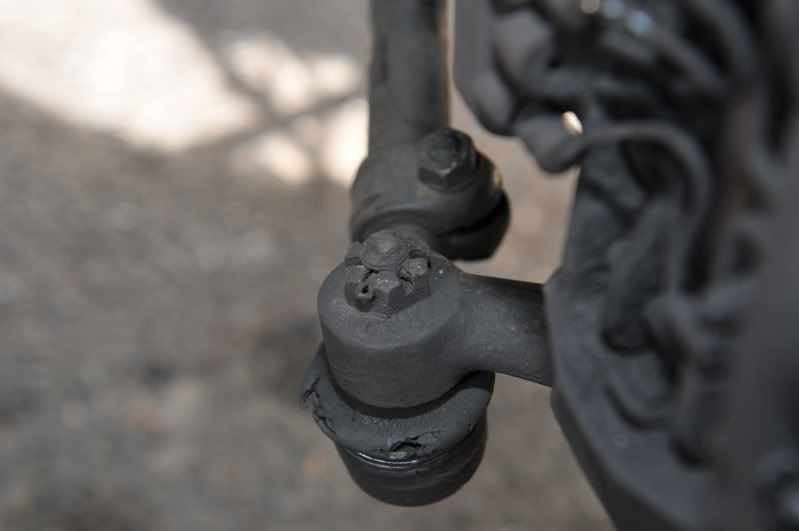 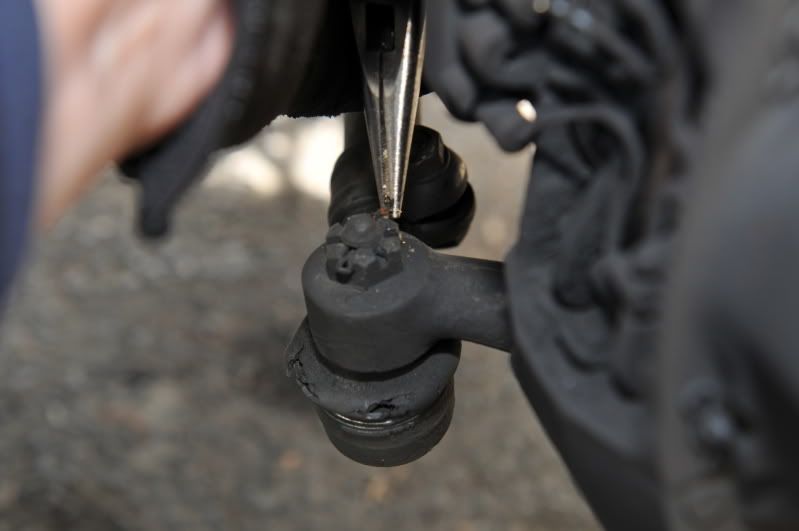 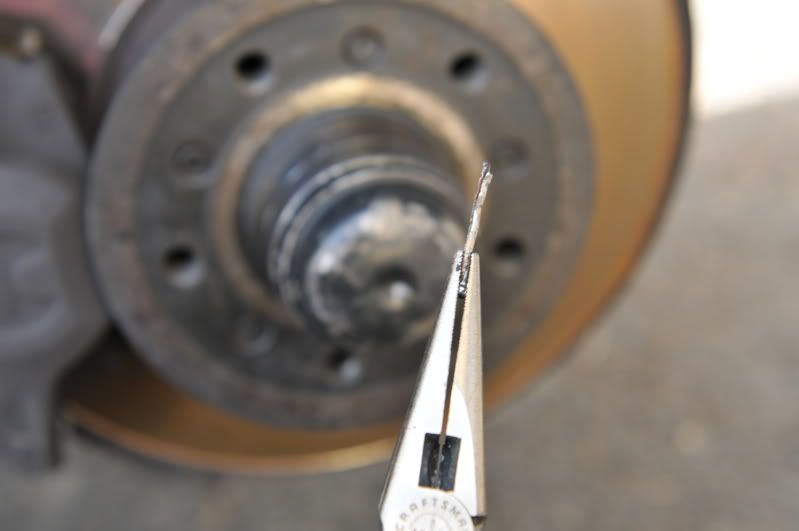 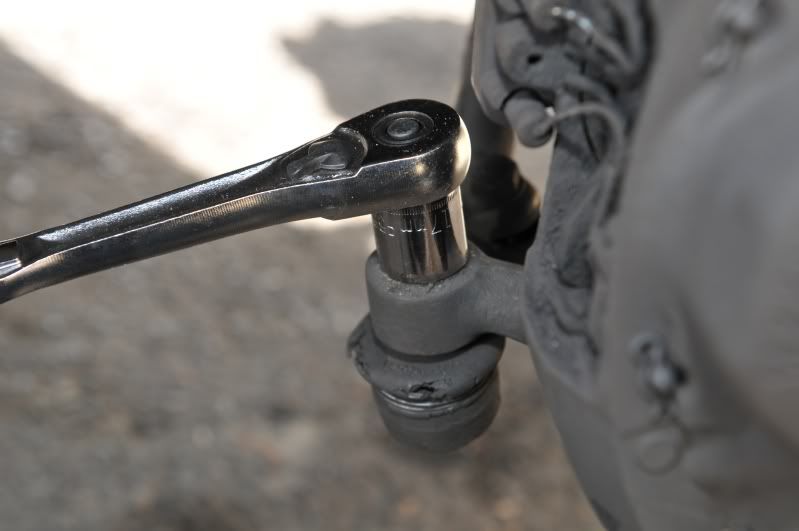 I have a pickle fork, and tried using it, especially since there was nothing to loose on this joint. Hammering it in didnt do much. Maybe it I swung extra hard it would have come out, but I just dont have a good feel for how hard is too hard. Instead I opted for acquiring a set of OTC tools which can be used for popping the joints. The kit I used is OTC-6295, from Amazon. This kit has two main items that are used, an enclosed version of a C-clamp (for lack of better explanation) and a three-point hinged press. You will see both in the following pictures. Each is shown in the true MB part form in the FSM, and you cannot easily get away with just one. Each has its application point depending upon which joint is being separated due to space and accessibility. 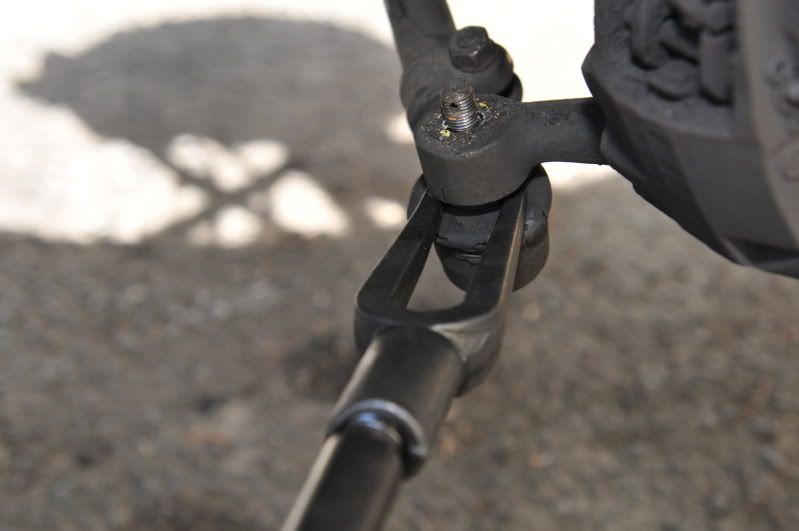 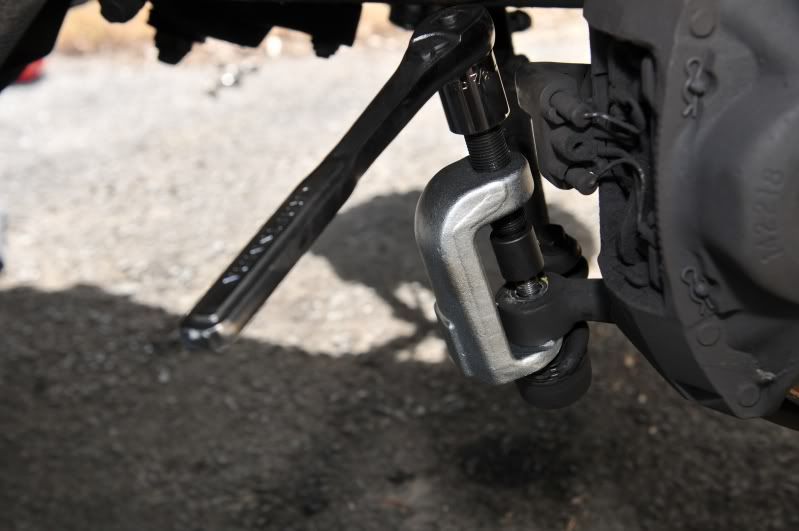 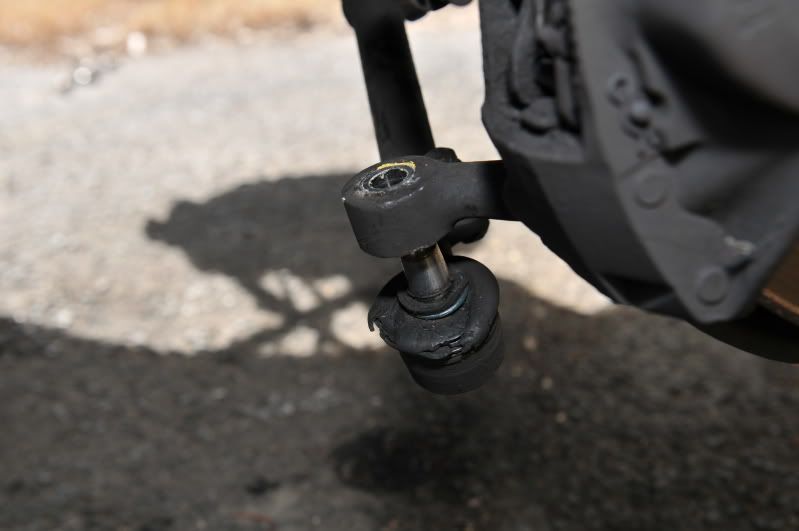 After the outer was off, then it was time for the inner. It was easier to bend it to make tool access to the joint more straightforward. 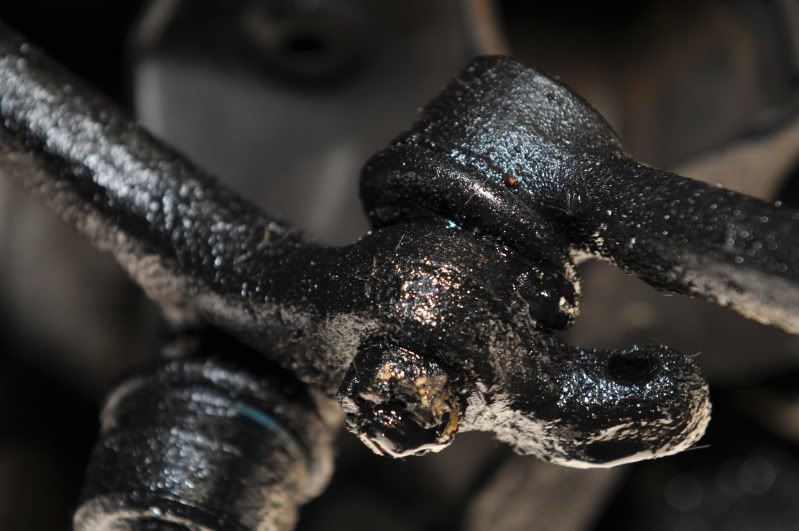 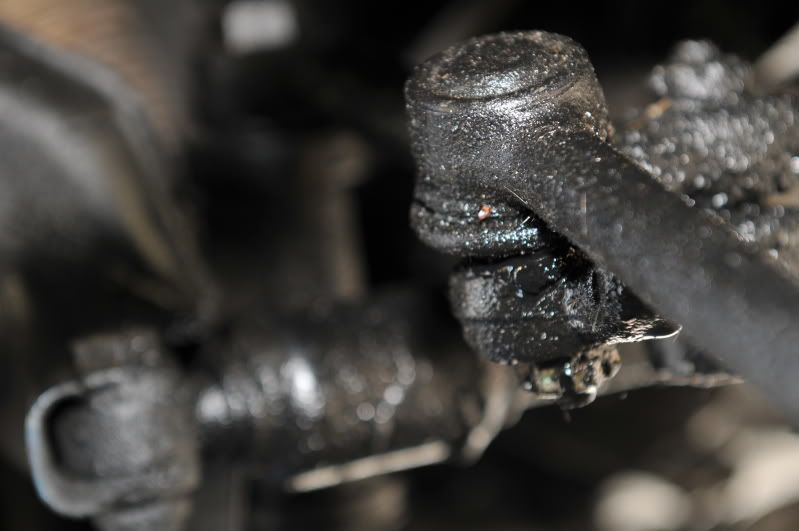 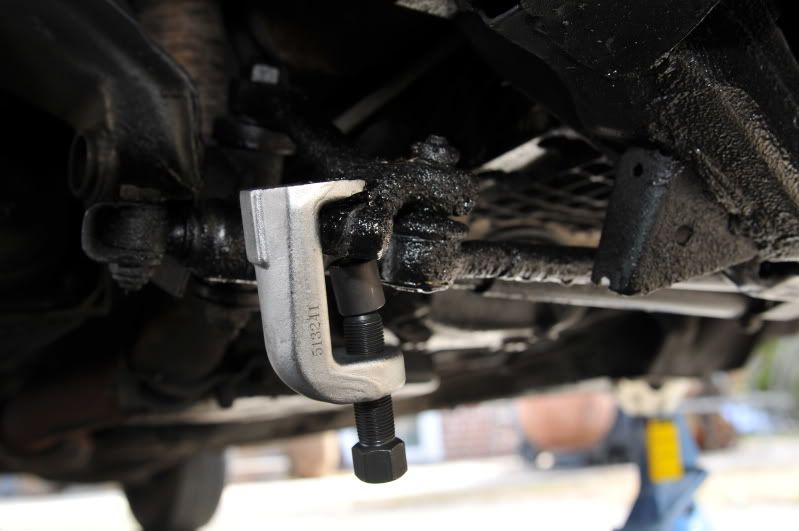 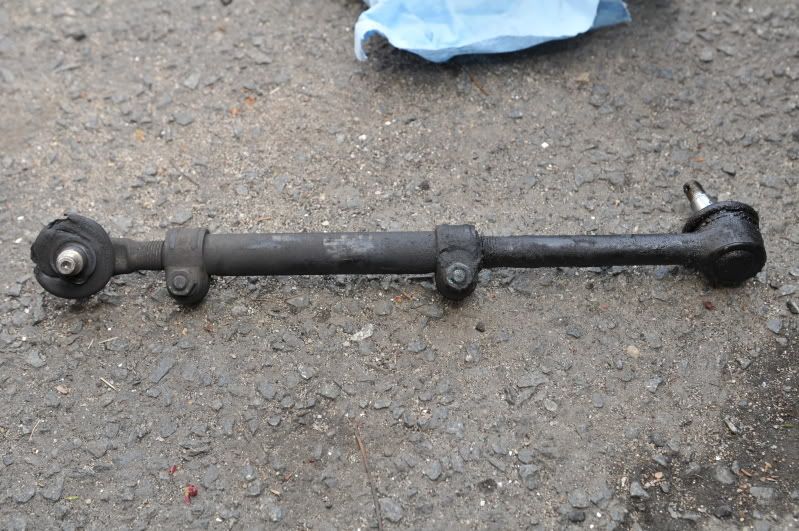 The job continues on with the drag link on the idler arm. Note a few things. The second tool gets used here, and the steering shock also needs to be removed from where it bolts to the body of the car. 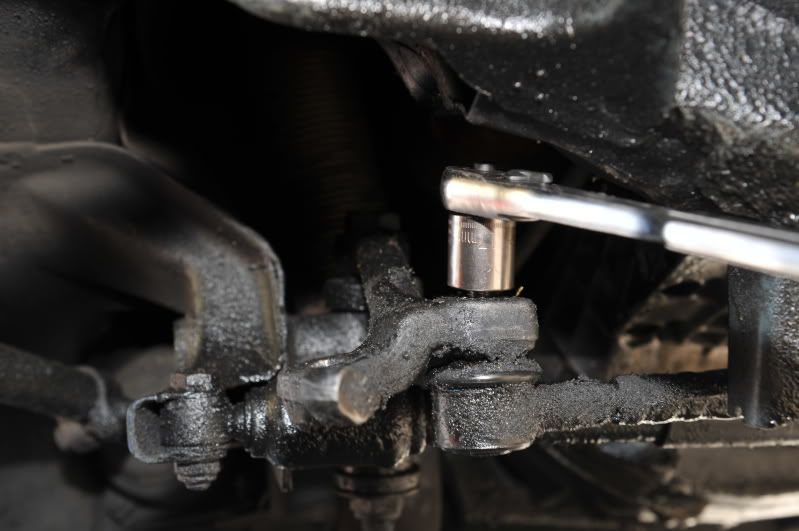 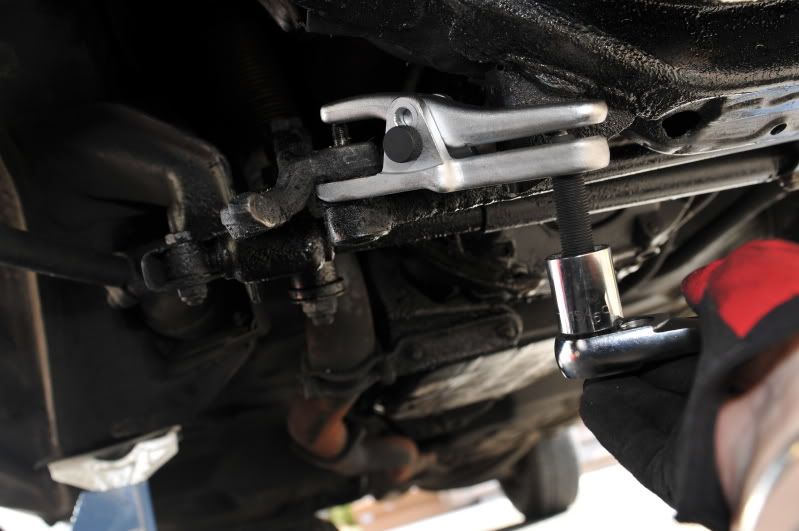 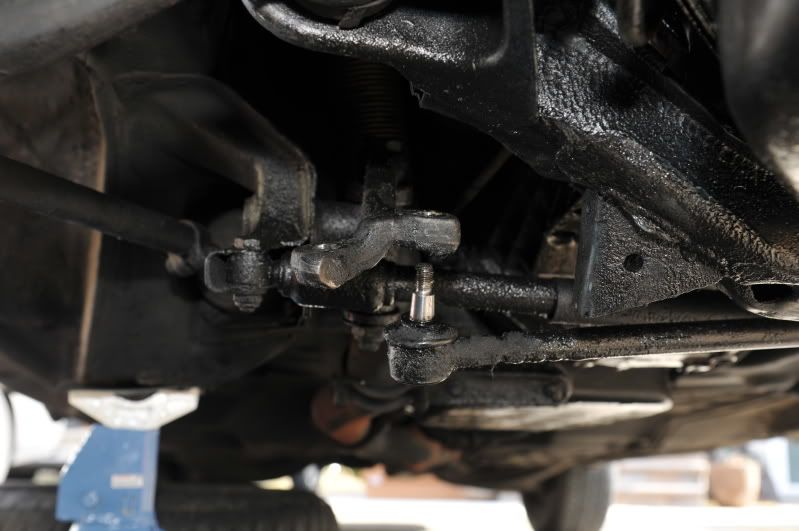 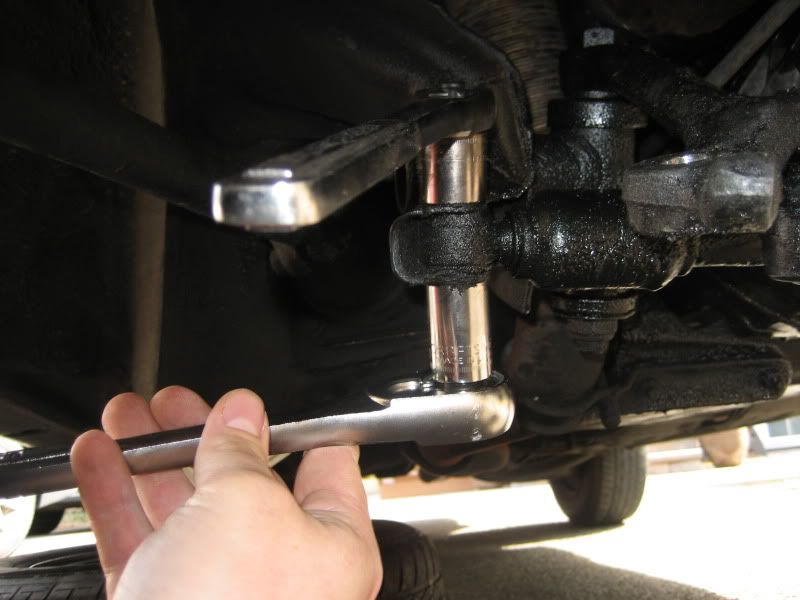 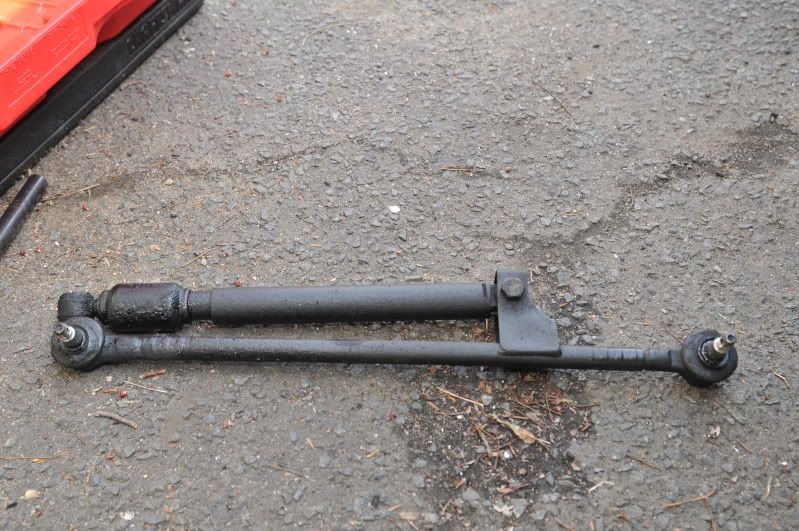 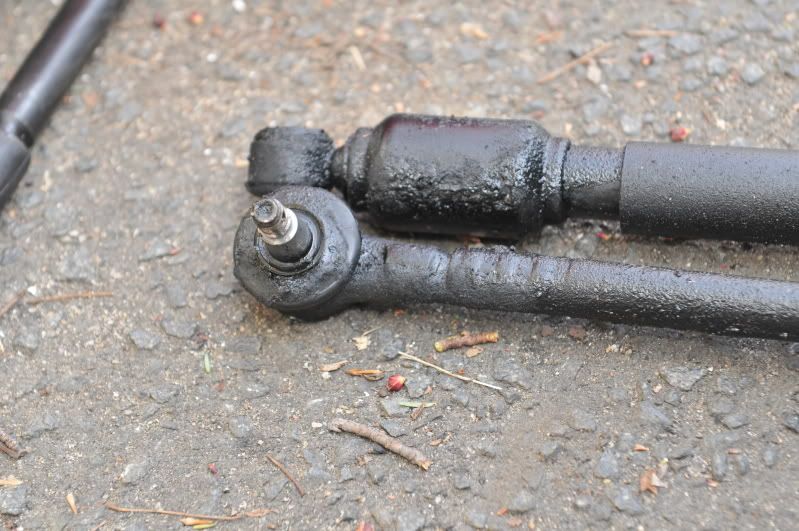 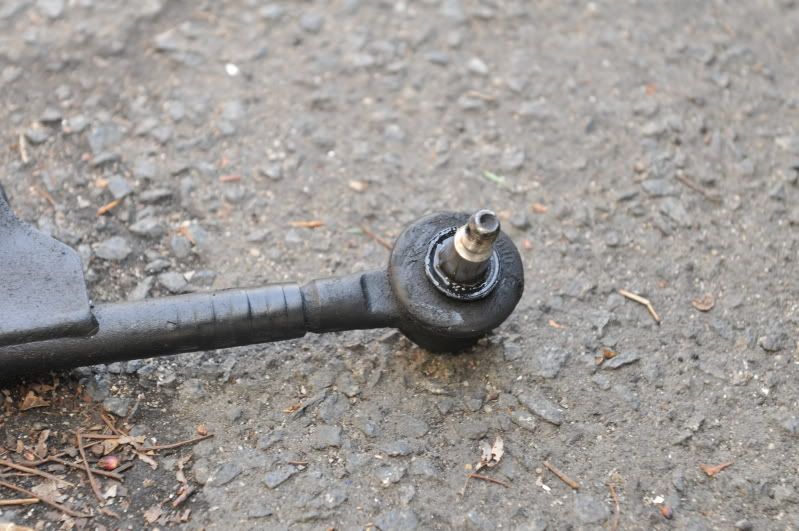
__________________
Current Diesels: 1981 240D (73K) 1982 300CD (169k) 1985 190D (169k) 1991 350SD (116k) 1991 350SD (206k) 1991 300D (228k) 1996 Dodge Ram CTD (442k) 1996 Dodge Ram CTD (267k) Past Diesels: 1983 300D (228K), 1985 300D (233K), 1993 300D 2.5T (338k), 1993 300SD (291k) |
|
#2
|
||||
|
||||
|
At this point the Idler Arm is free, so the separation of its parts can begin. Some discussions recommend removing the air cleaner and loosening it from the top. This did nothing but destroy a 1/2 to 3/8 adapter.
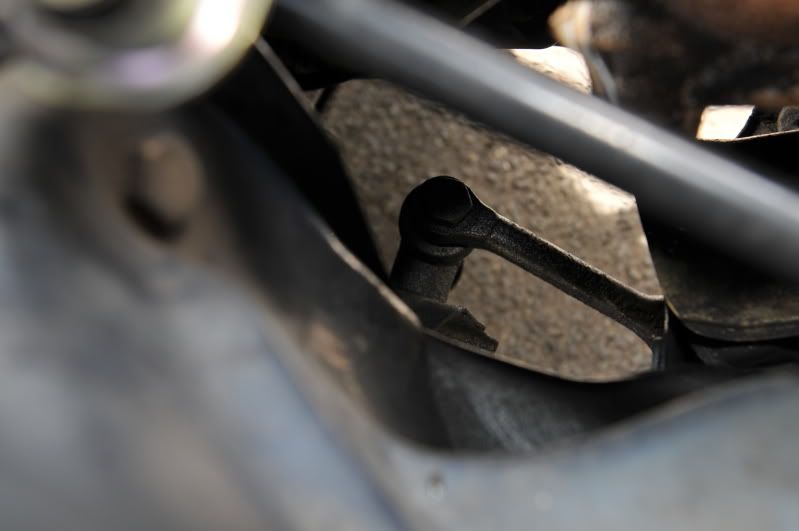   I did everything from underneath, using a 24mm 3/4 drive breaker bar and a similarly sized 1/2" ratchet. A big adjustable also came in handy under certain parts of the effort.    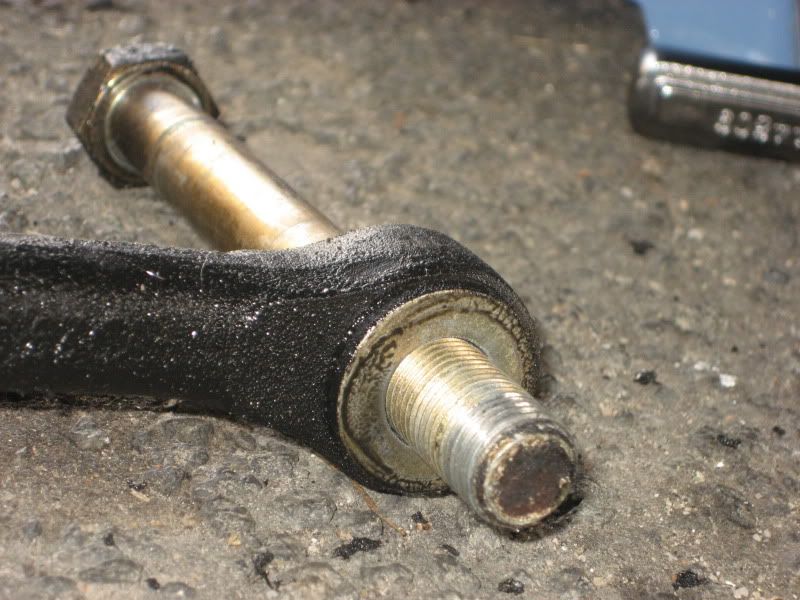 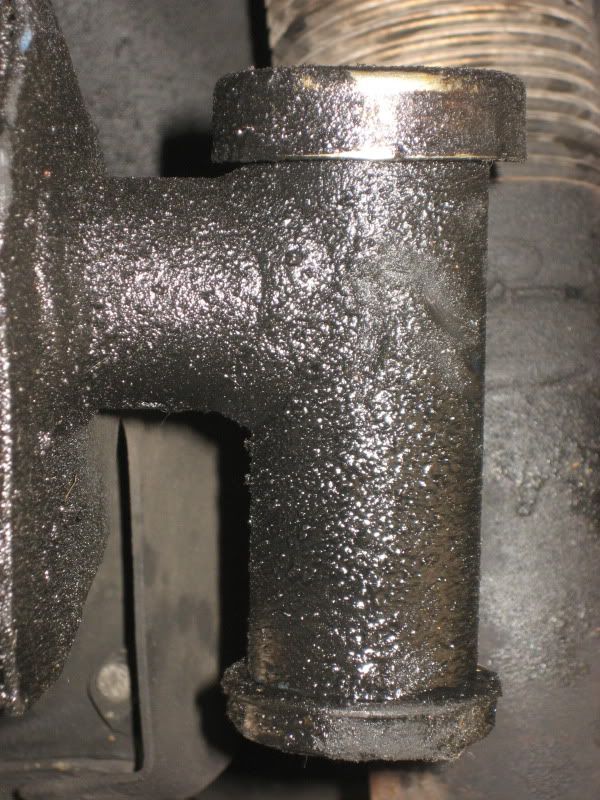 Note the top dirt cap and bottom cover washer with nut.  Then we are at the point where the bearing inserts are friction fit in. 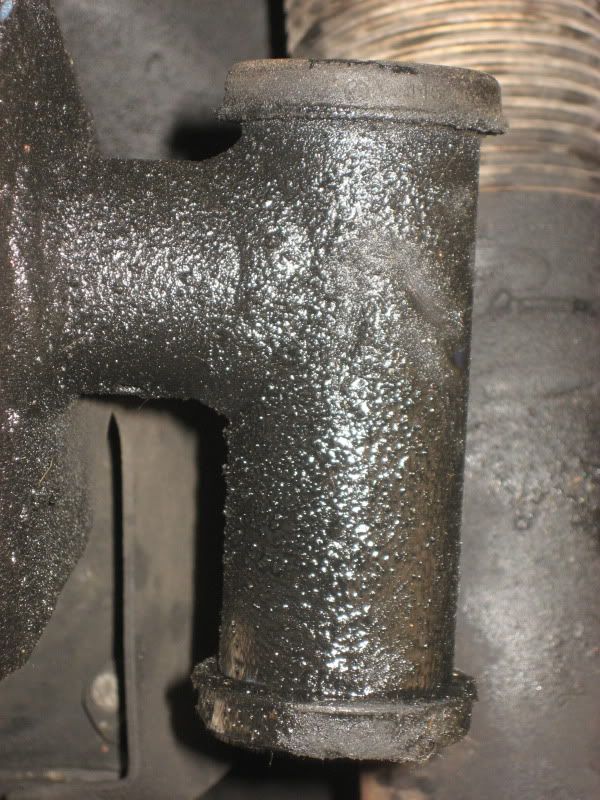 I found it best to use the long bolt at an angle to help pull down the lower bearing/bushing. Using the threaded part slightly inserted allowed for enough grip on the item to help slowly pull it out. 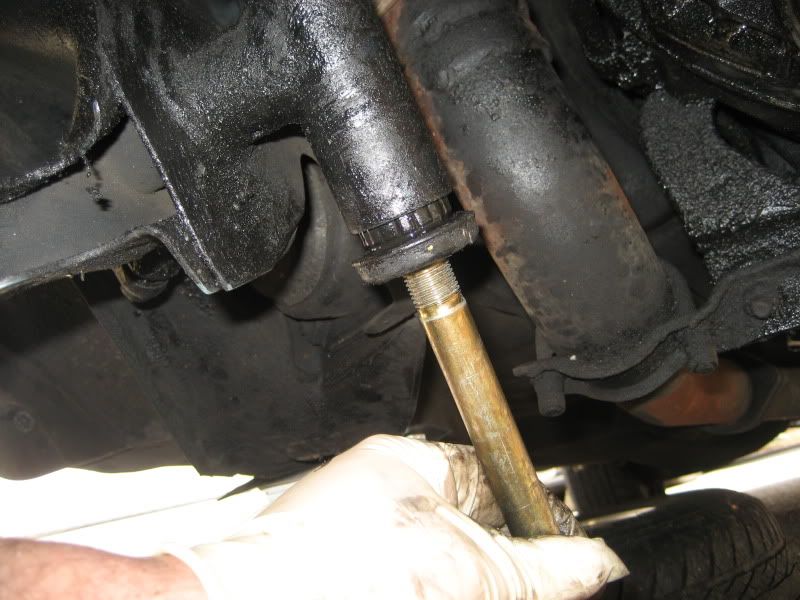 And then drive out the upper one using the same bolt. 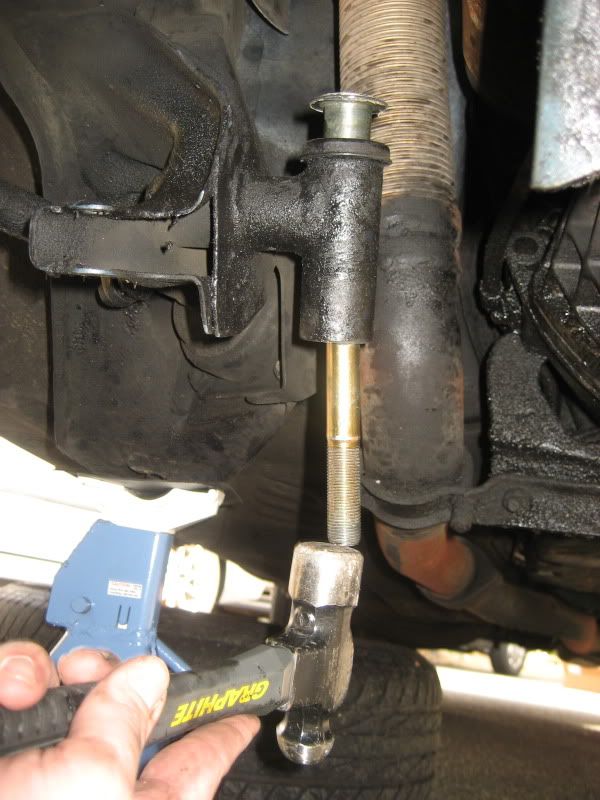 It was a good clean bore inside. 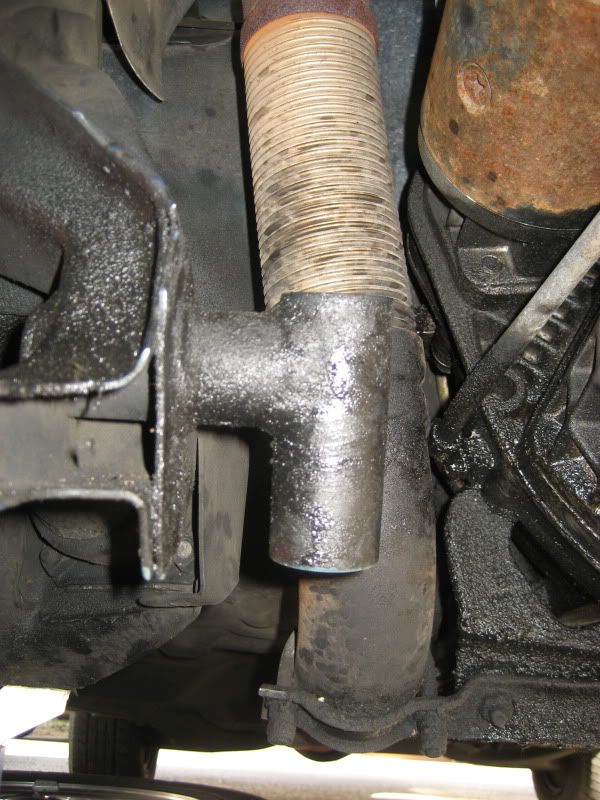 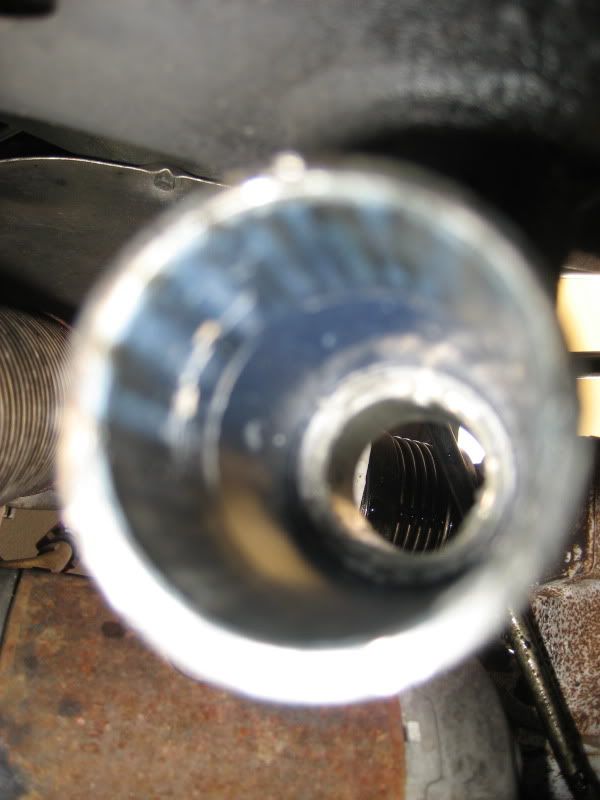   It is important to remember the order of the parts that are together on the idler arm. I put them back together for the photo. 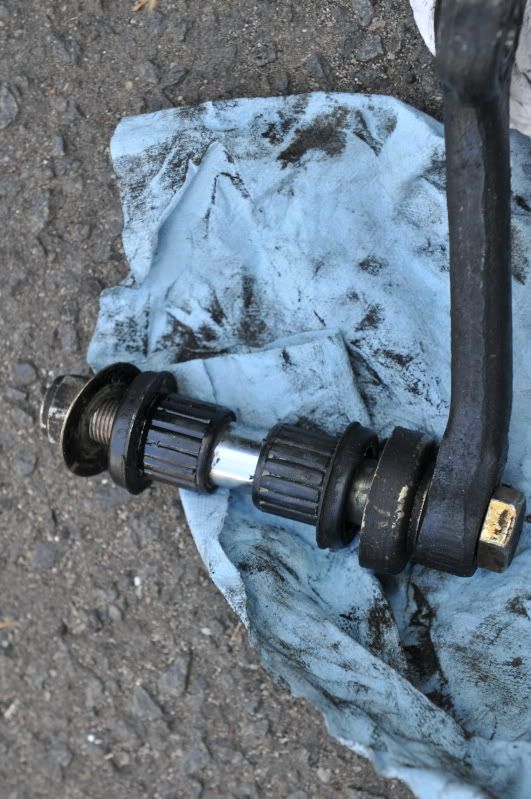 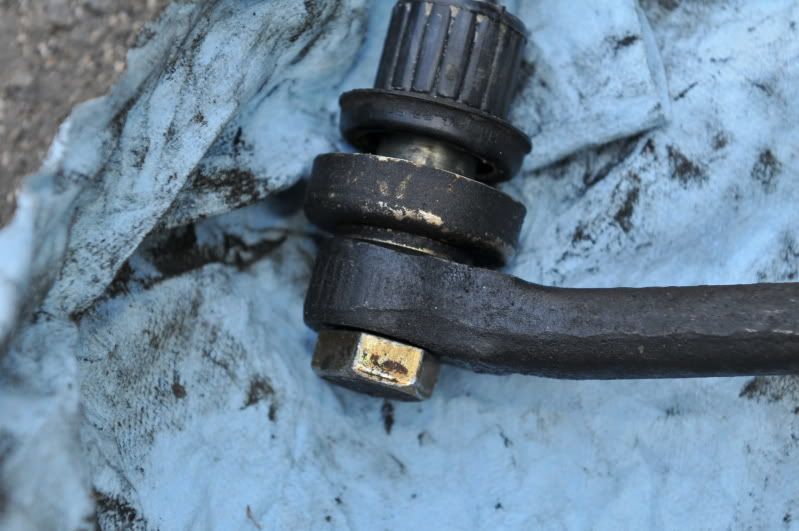 Note the washer that is directly under the arm is not necessarily always installed. It is dependent upon the part number for the specific arm itself. This is laid out in the FSM. Its presence is based upon the number shown in the photo. It is likely a good chance that whatever is on there is right at this point... 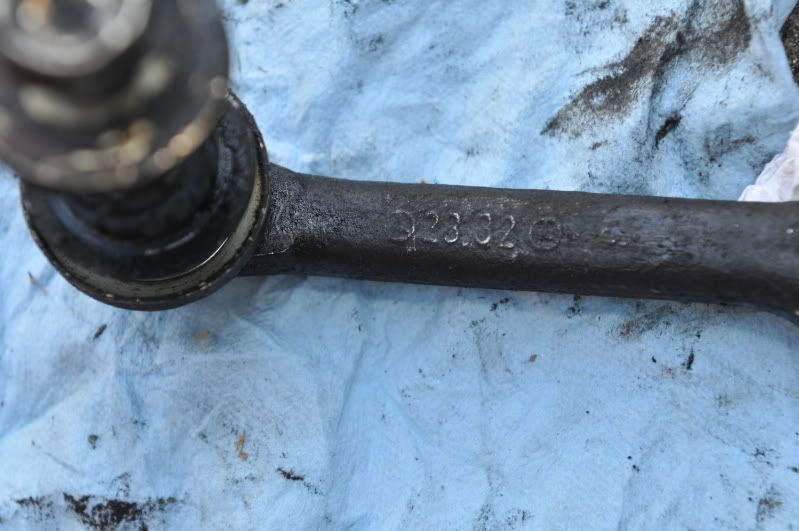 The bearing/bushings to be used are slightly larger than the hole for the idler arm. 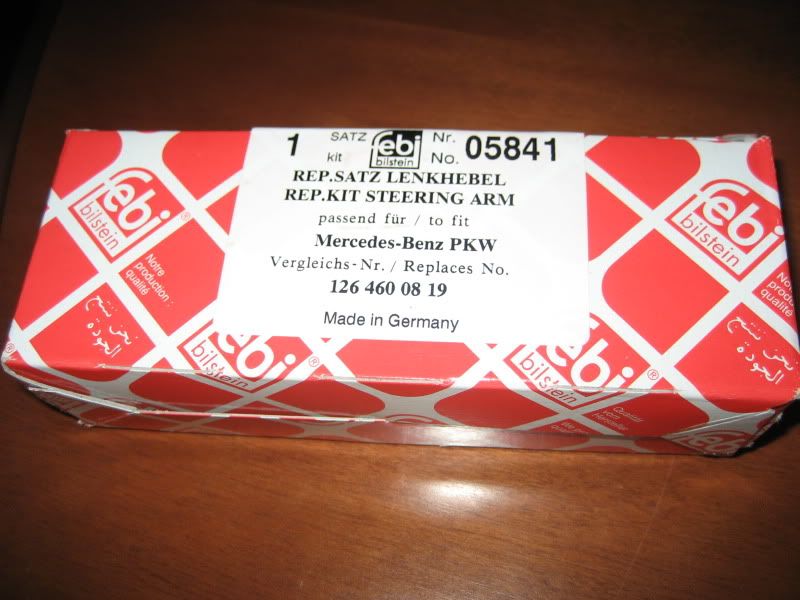 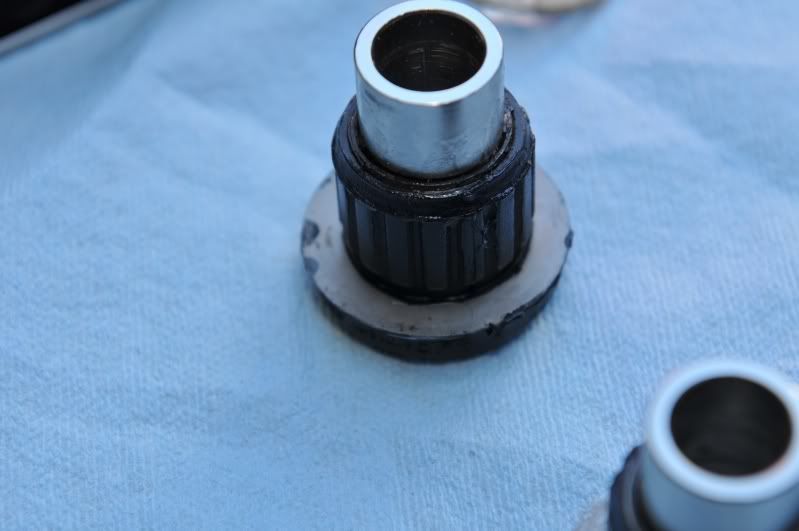 To do the install, I used a bit of Napa Sil-Glyde on the surfaces to help guide them in.  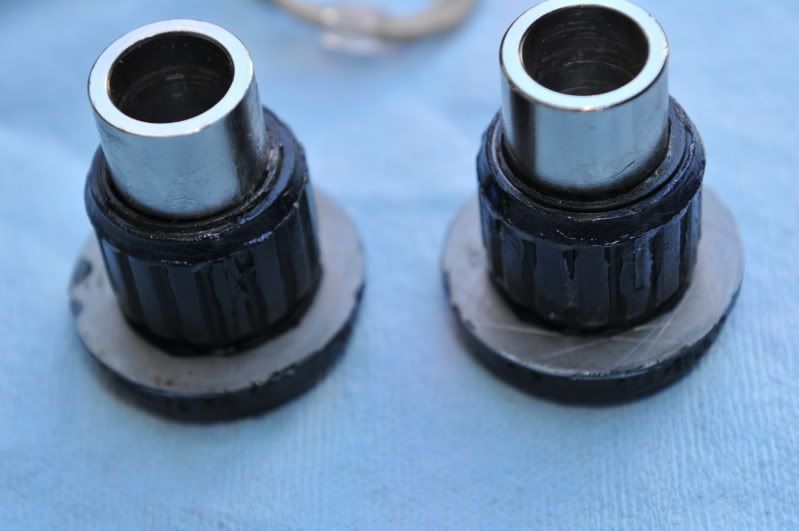 I then utilized the old idler arm bolt, washer and nut to create a tool to help guide the new ones into the bore. 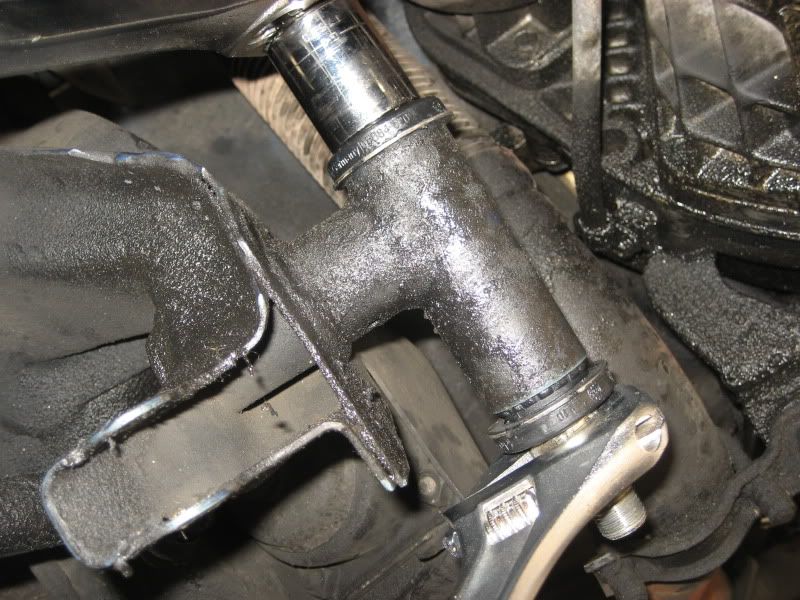  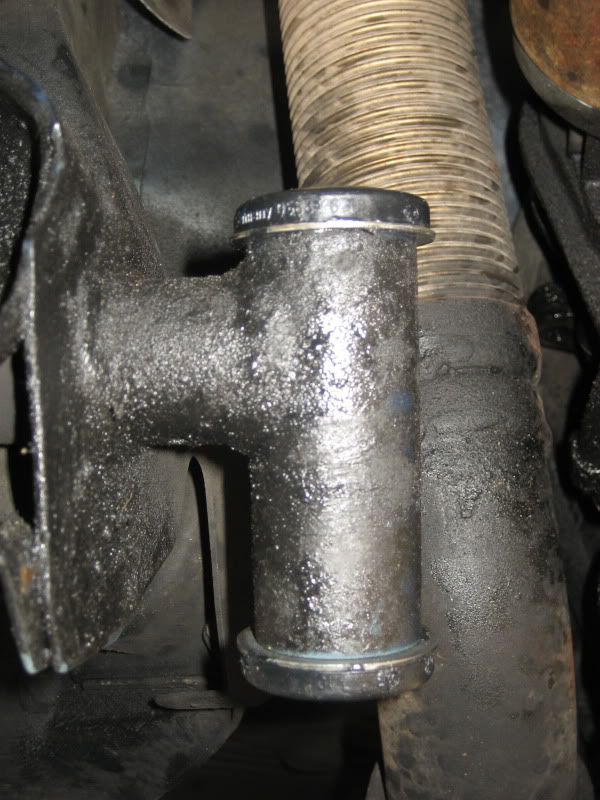 After that, the sandwich of parts can be put back together and torqued appropriately to 88 ft-lb. 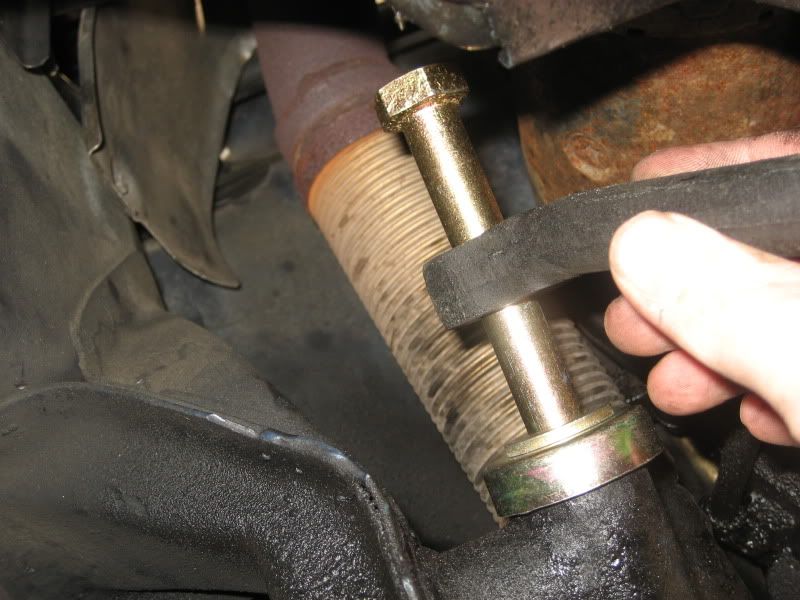   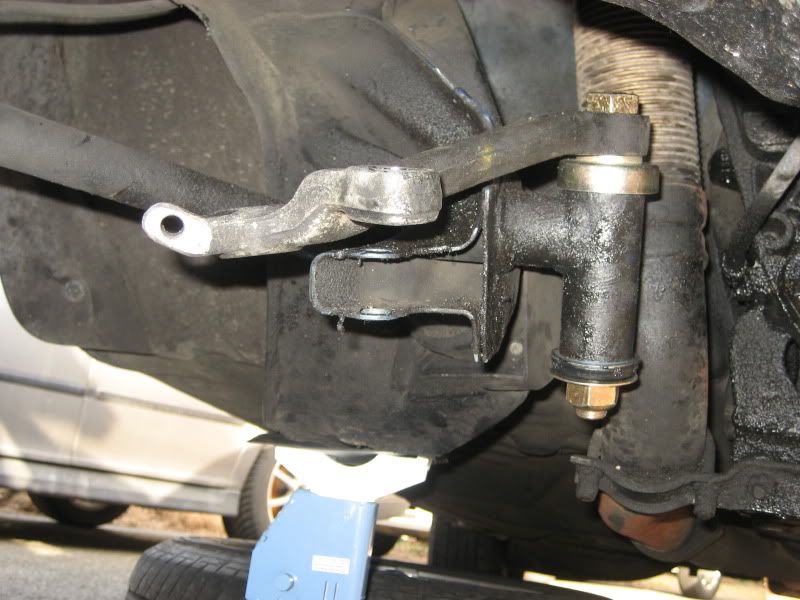
__________________
Current Diesels: 1981 240D (73K) 1982 300CD (169k) 1985 190D (169k) 1991 350SD (116k) 1991 350SD (206k) 1991 300D (228k) 1996 Dodge Ram CTD (442k) 1996 Dodge Ram CTD (267k) Past Diesels: 1983 300D (228K), 1985 300D (233K), 1993 300D 2.5T (338k), 1993 300SD (291k) |
|
#3
|
||||
|
||||
|
So now that the idler is complete, the other tie rod must come off like the last one.
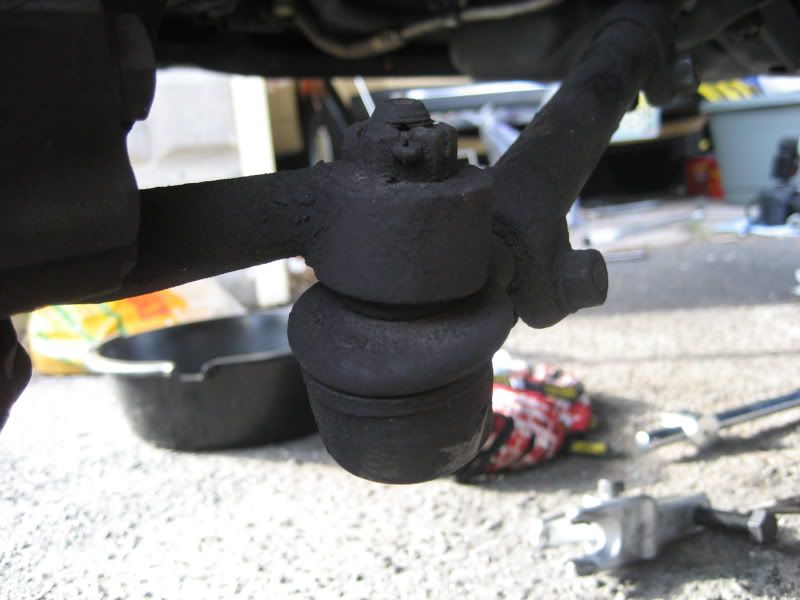  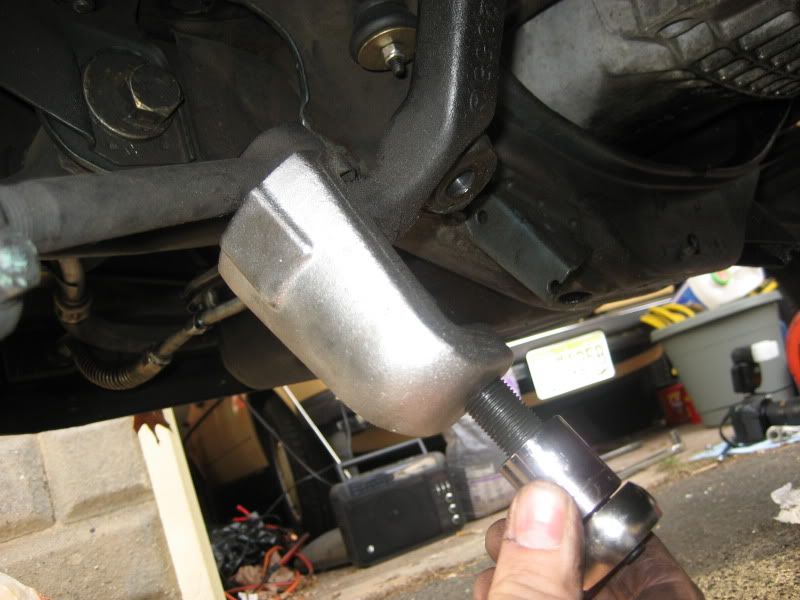  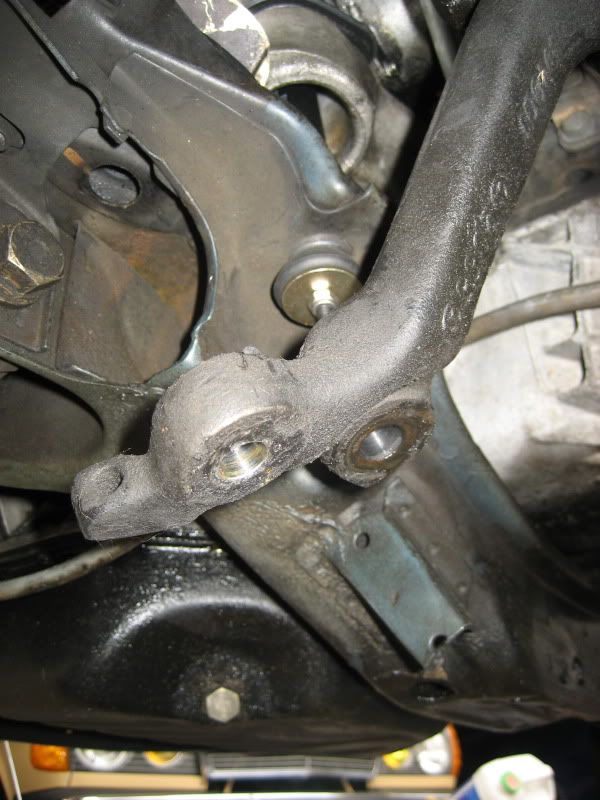 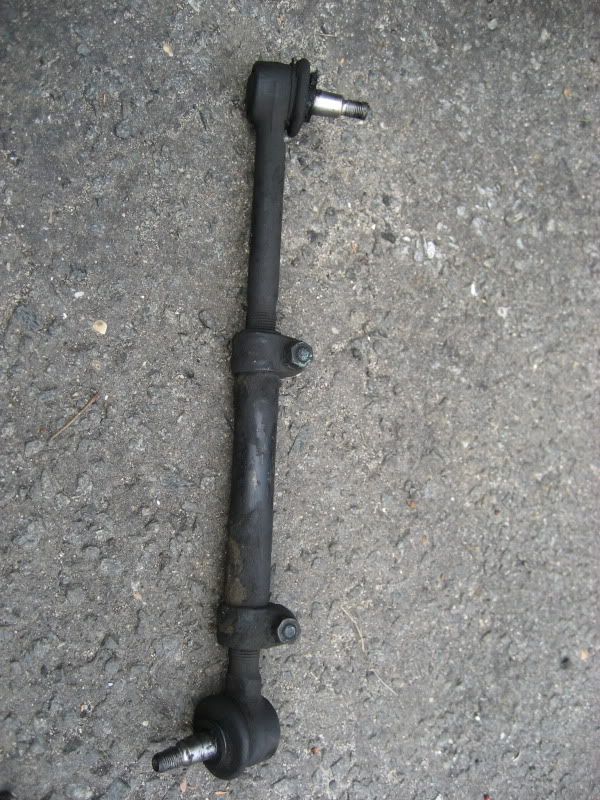 With everything off, now it is time to put it all back together. The drag link is a set length, so it need not be worried about. However the tie rods need to be brought to the new length. I bought mine from Phil, and they seem to be white box made by Karlyn. They are slighly smaller in casting size than the originals. 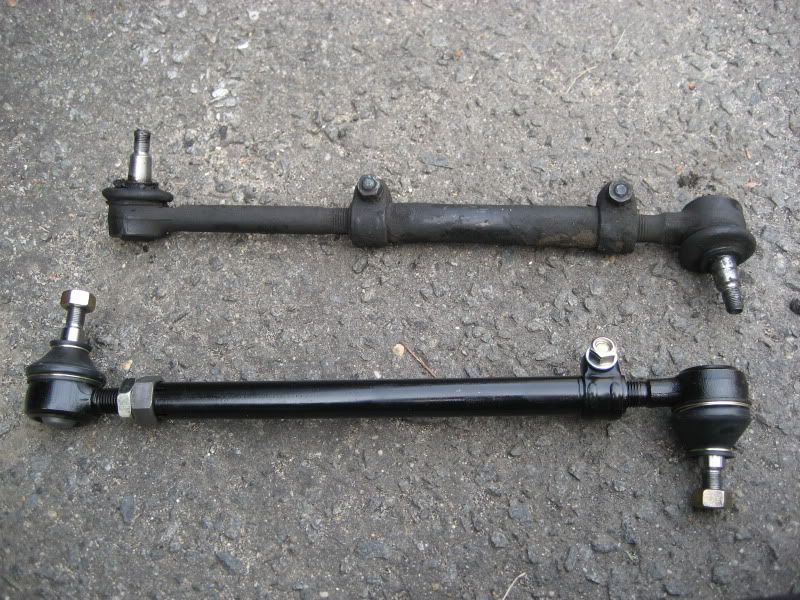 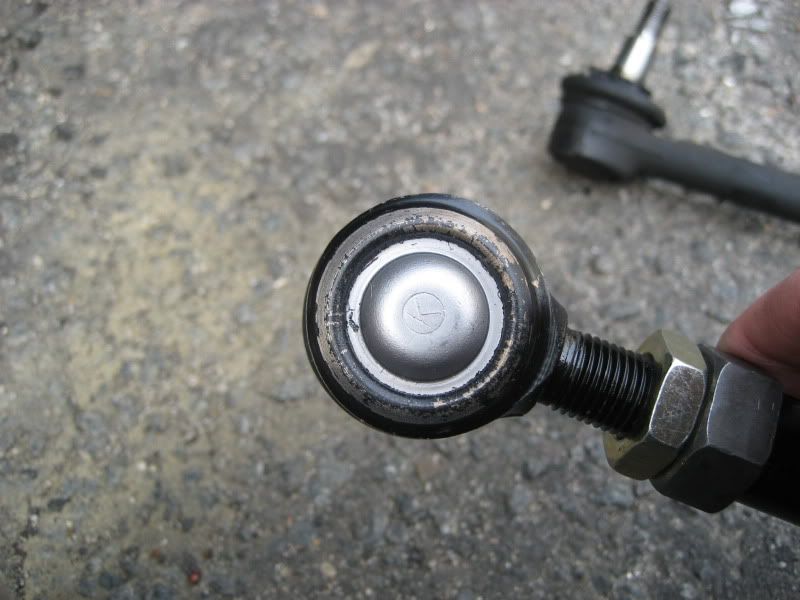  I adjusted the tie rods so that there was visible threads on both ends, and that the overall length was similar to the old ones. 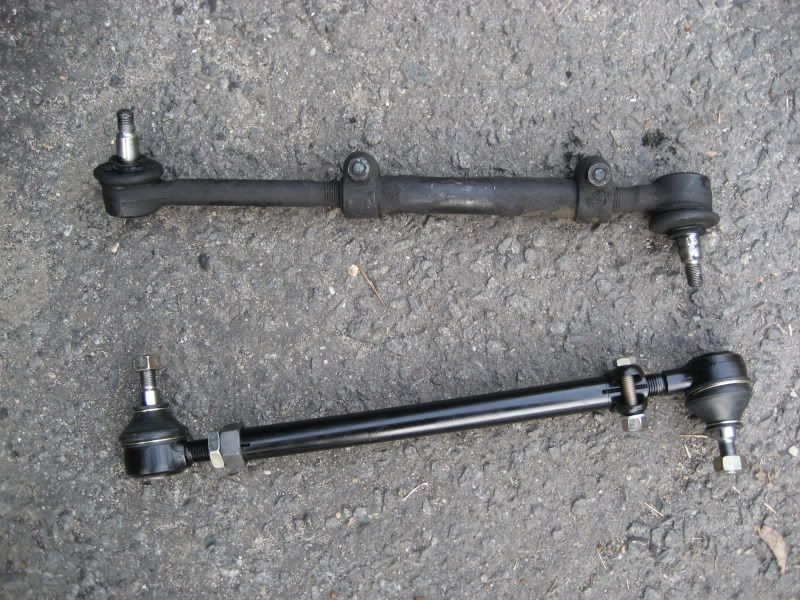 The FSM states that for newer designs, the clamp end goes towards the wheel. For older designs, the longer rod end goes inboard. 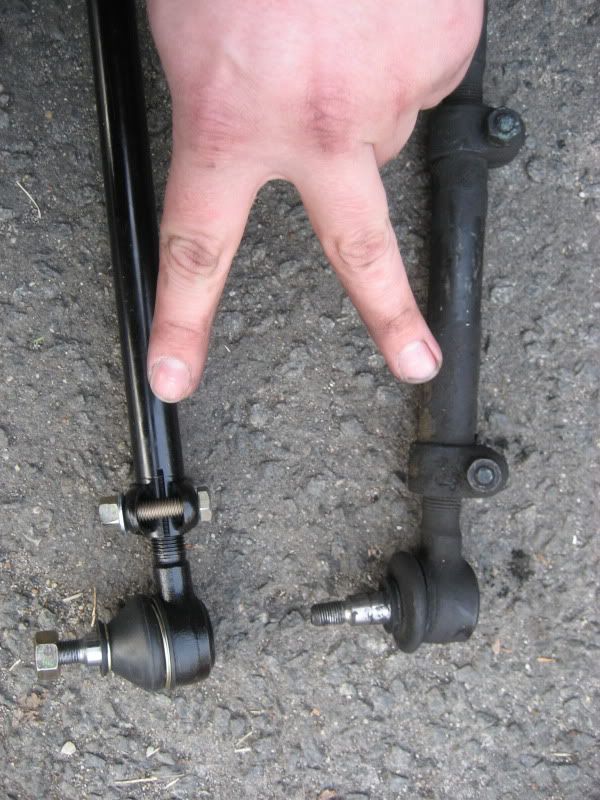 The new style ends and drag link utilize a locknut, and the shaft has an opening in its top such that an allen key can be installed to prevent the shaft from turning. 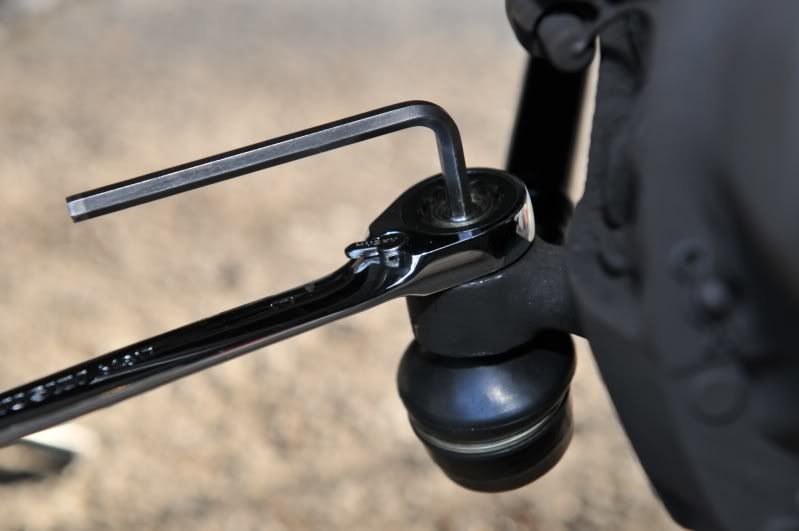 The order of install can go really any way it seems. Don't forget to also tighten in the steering shock damper to the guide rod and the body.   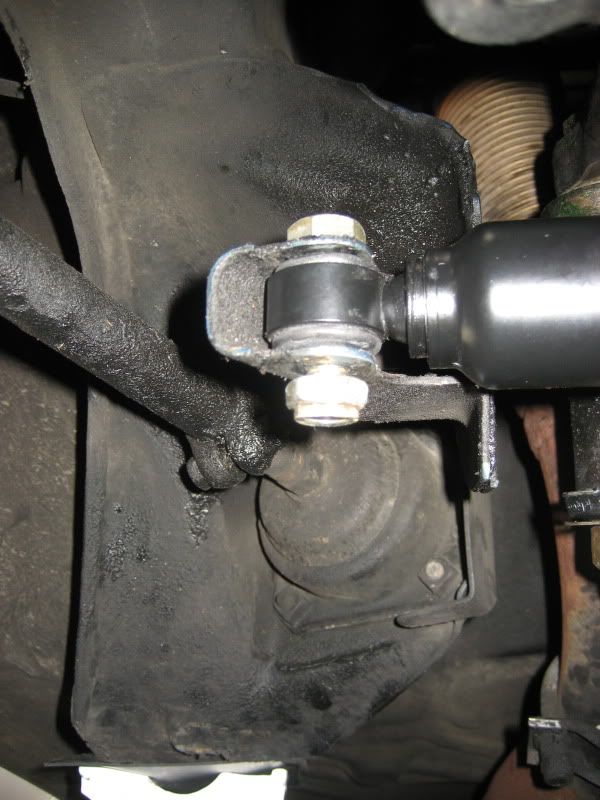  Complete connection and tightening down all tie rod ends. 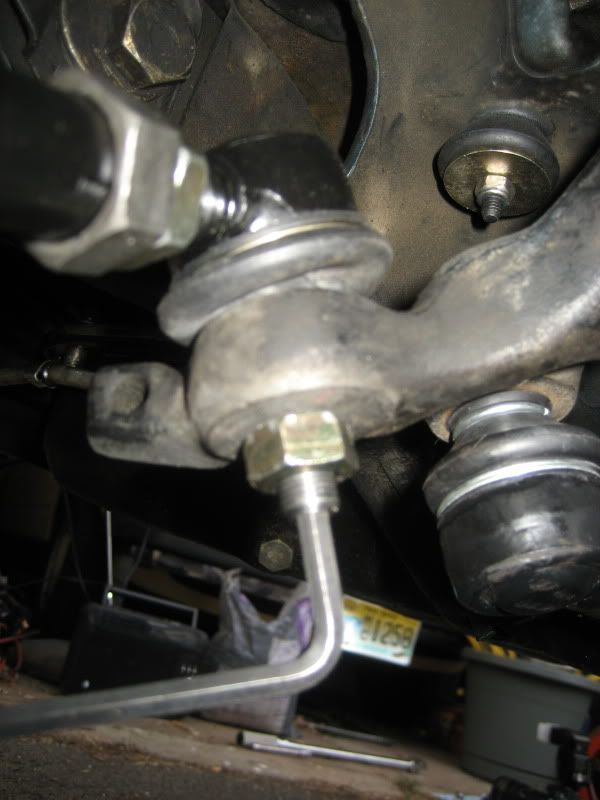 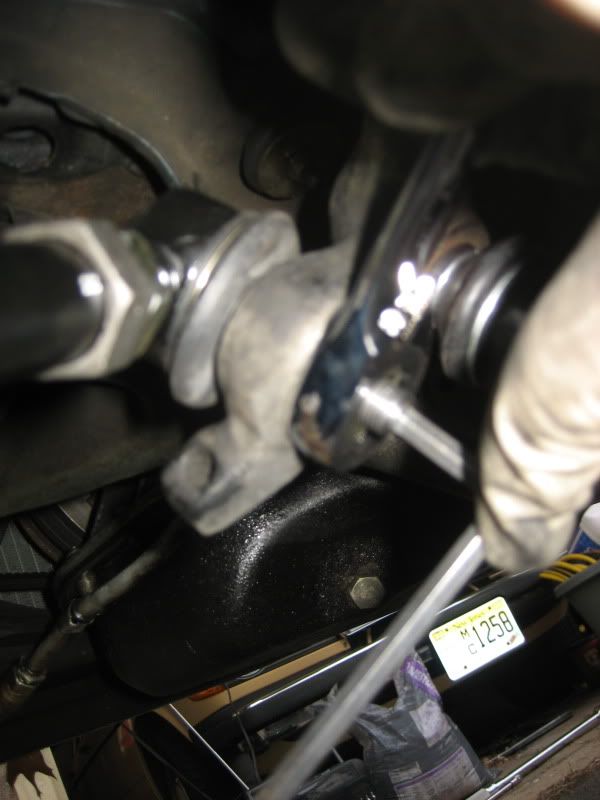 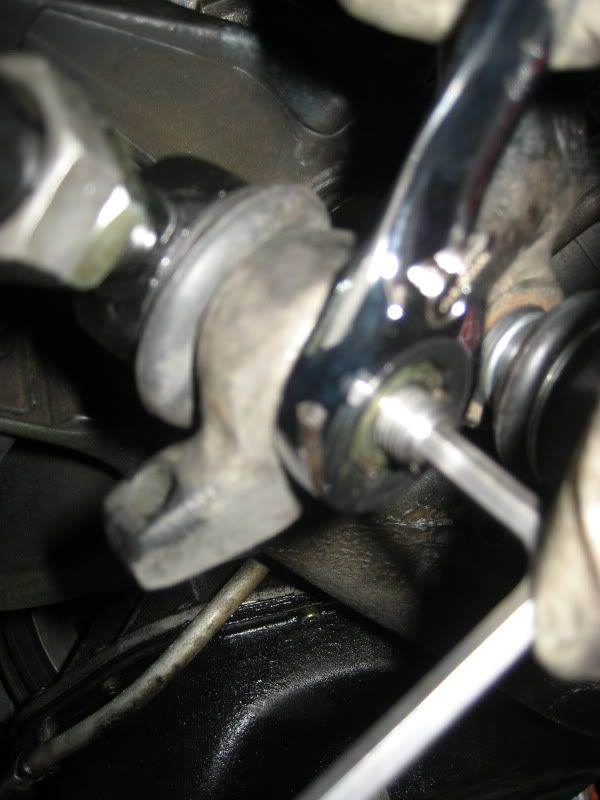 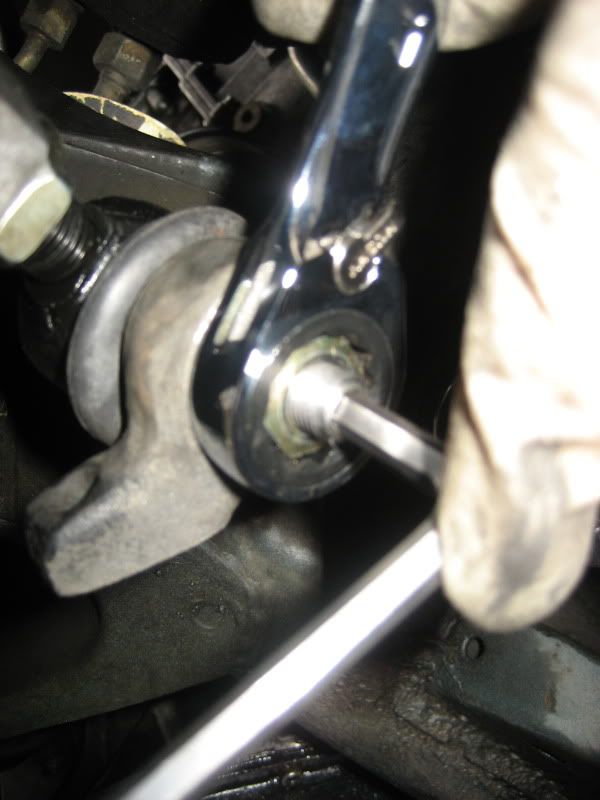  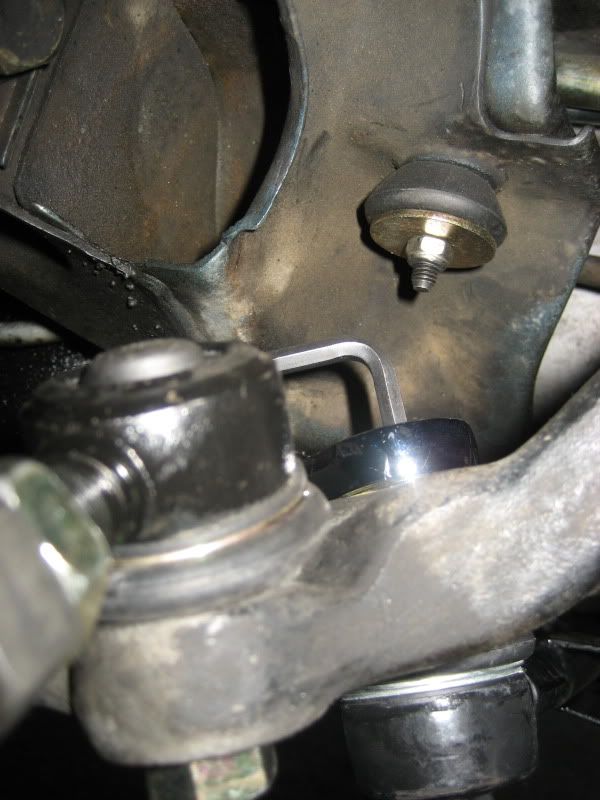 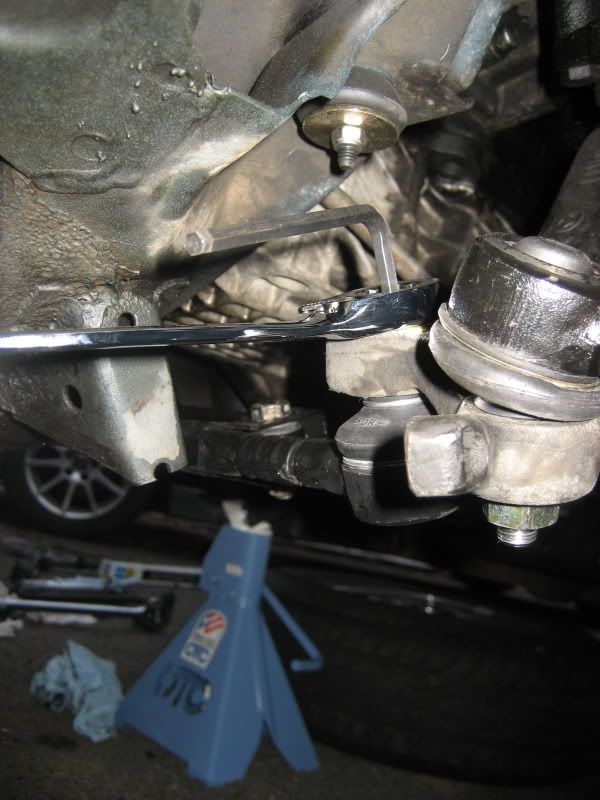    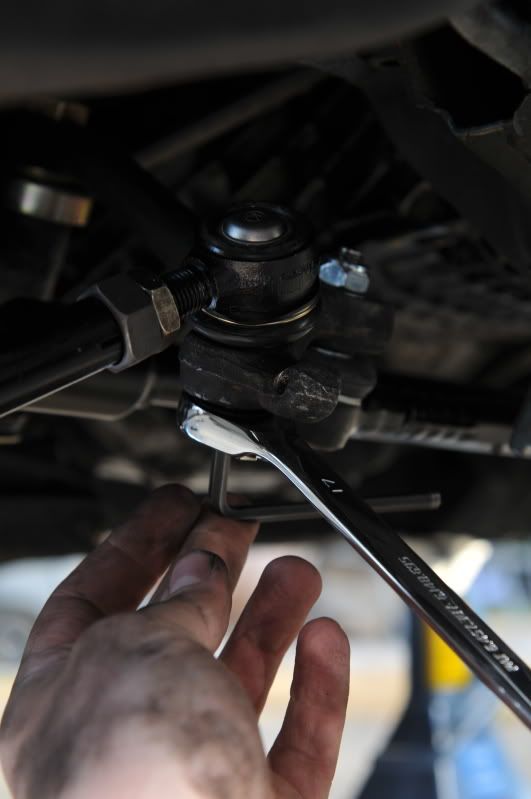 Dont forget to torque down the clamps and locknuts that hold the tie rod ends together. 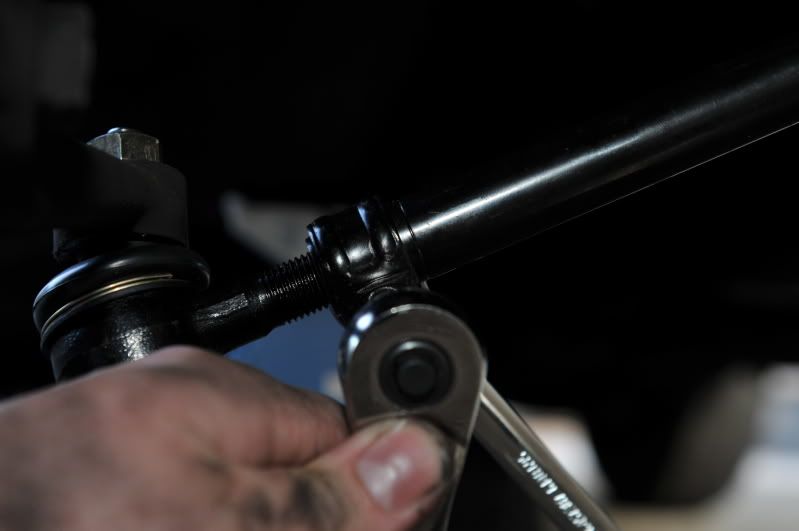 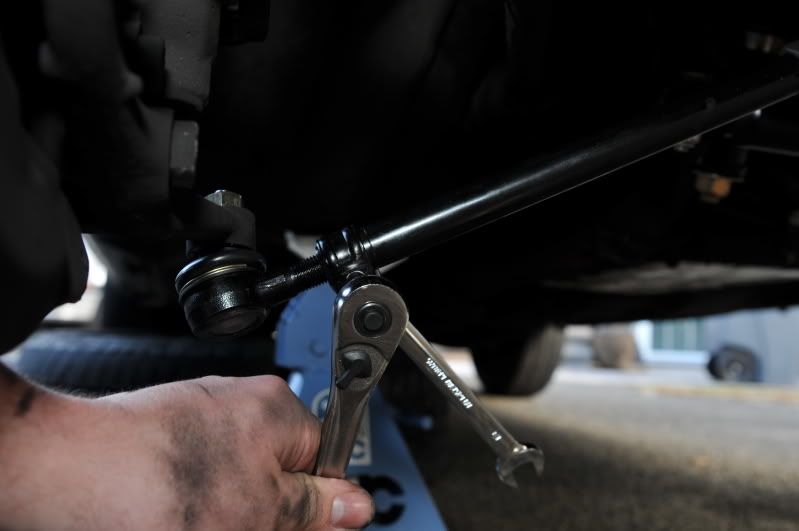 Recheck everything for torque, reinstall and torque wheels and then go for an alignment. Done!
__________________
Current Diesels: 1981 240D (73K) 1982 300CD (169k) 1985 190D (169k) 1991 350SD (116k) 1991 350SD (206k) 1991 300D (228k) 1996 Dodge Ram CTD (442k) 1996 Dodge Ram CTD (267k) Past Diesels: 1983 300D (228K), 1985 300D (233K), 1993 300D 2.5T (338k), 1993 300SD (291k) |
|
#4
|
||||
|
||||
|
Nice write up!
I've done all of ours (4 cars so far) with pickle forks. Its not too hard if you use a nice big hammer.  A couple hits and I usually have them off. I'll be doing my SD not too long from now, in the next couple weeks. A couple hits and I usually have them off. I'll be doing my SD not too long from now, in the next couple weeks.
__________________
-diesel is not just a fuel, its a way of life-  '15 GLK250 Bluetec 118k - mine - (OC-123,800) '17 Metris(VITO!) - 37k - wifes (OC-41k) '09 Sprinter 3500 Winnebago View - 62k (OC - 67k) '13 ML350 Bluetec - 95k - dad's (OC-98k) '01 SL500 - 103k(km) - dad's (OC-110,000km) '16 E400 4matic Sedan - 148k - Brothers (OC-155k) |
|
#5
|
||||
|
||||
|
Loads of great pictures - nice
__________________
1992 W201 190E 1.8 171,000 km - Daily driver 1981 W123 300D ~ 100,000 miles / 160,000 km - project car stripped to the bone 1965 Land Rover Series 2a Station Wagon CIS recovery therapy! 1961 Volvo PV544 Bare metal rat rod-ish thing I'm here to chat about cars and to help others - I'm not here "to always be right" like an internet warrior Don't leave that there - I'll take it to bits! |
|
#6
|
||||
|
||||
|
it's submitted to the wiki!
thanks!
__________________
John HAUL AWAY, OR CRUSHED CARS!!! HELP ME keep the cars out of the crusher! A/C Thread "as I ride with my a/c on... I have fond memories of sweaty oily saturdays and spewing R12 into the air. THANKS for all you do! My drivers: 1987 190D 2.5Turbo 1987 190D 2.5Turbo 1987 190D 2.5-5SPEED!!!  1987 300TD 1987 300TD 1994GMC 2500 6.5Turbo truck... I had to put the ladder somewhere! |
|
#7
|
|||
|
|||
|
Excellent photos. Nice pics of using the right tools. Are you going to look at your turbo drain line next? I'd speculate that's one of the sources of the oil there.
Clunk gone? Wheel "kickout" fixed? |
|
#8
|
||||
|
||||
|
Did the job but need to get the car aligned by MB. Since my local dealer (Cherry Hill) claims alignment is $149 on sale, and MB of Wilmington, DE charges $89, I'm working my plan to get new tires down there via tirerack and then take the car for an alignment. Will report back on that when I can.
Turbo drain is dry. Been there, done that on my 83... Avoiding that job until it has to get done, at which point I'll remove the whole turbo making the job easier and letting me replace the innards. My engine has next to no blowby and uses no oil over a change interval. I drove cross country in the car and the level never changed. The oil all over is from the turbo intake, it propagates in the u-tube and drips out/all over. I've got pics of that... And I sealed my oil separator - which hopefully will fix that. I have the pics and will do the DIY on that soon too...
__________________
Current Diesels: 1981 240D (73K) 1982 300CD (169k) 1985 190D (169k) 1991 350SD (116k) 1991 350SD (206k) 1991 300D (228k) 1996 Dodge Ram CTD (442k) 1996 Dodge Ram CTD (267k) Past Diesels: 1983 300D (228K), 1985 300D (233K), 1993 300D 2.5T (338k), 1993 300SD (291k) |
|
#9
|
|||
|
|||
|
I have an easy way to set the lenght of the tie rod bars so you can at least drive the car to get it alinged without wearing your tires out.
Get a piece of wood and pound a nail into it. Lay your old tie rod assemby on top of the wood and press it up against the nail. Get another nail and mark where the other end of the tie rod sits on the wood. Slide the tie rod away and pound that nail in but not too far. Put the tie rod back in place and bend the nail in or out until the whole asembly will just slide through. Adjust your new assembly so that it will just slide though like the old one. Make sure you keep track of which side you are working on because they won't be the same in most cases. This will be very close to the original dimension. On old beaters sometimes I never did anything more than the nail trick. Saves me 50 bucks or more and an hour or two waiting for the job to be done. |
|
#10
|
||||
|
||||
|
Good write up, thanks.
__________________
83 SD 84 CD |
|
#11
|
|||
|
|||
|
Yes, very good write up!
I think I'll look into getting those clamps - looks like the Right Way(tm) to do it.
__________________
Codifex 1981 240D ChinaBlue (Got her running with a donor engine.) 1983 300DTurbo w/sunroof. 1984 300TD manual sunroof. (Electrical Gremlins) |
|
#12
|
||||
|
||||
|
Oh I forgot to say... there is one check that is worthwhile doing. It is documented in the FSM chapter 46-520 - there is a maximum permissible difference in height between the Pitman arm and the idler arm => 4mm.
You can check this height fairly accurately with the car on a level surface and a spirit level (attached to an appropriate straight length of wood / metal).
__________________
1992 W201 190E 1.8 171,000 km - Daily driver 1981 W123 300D ~ 100,000 miles / 160,000 km - project car stripped to the bone 1965 Land Rover Series 2a Station Wagon CIS recovery therapy! 1961 Volvo PV544 Bare metal rat rod-ish thing I'm here to chat about cars and to help others - I'm not here "to always be right" like an internet warrior Don't leave that there - I'll take it to bits! |
|
#13
|
||||
|
||||
|
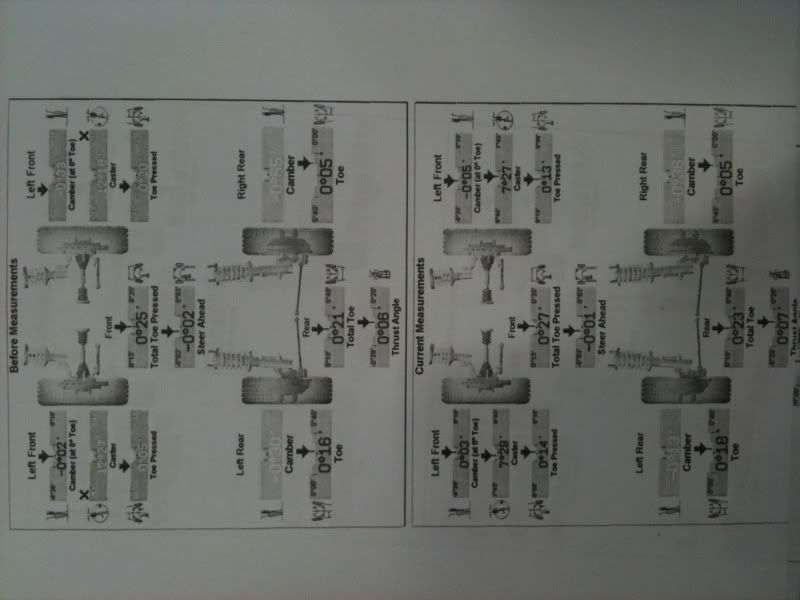
Alignment results from the dealer.
__________________
Current Diesels: 1981 240D (73K) 1982 300CD (169k) 1985 190D (169k) 1991 350SD (116k) 1991 350SD (206k) 1991 300D (228k) 1996 Dodge Ram CTD (442k) 1996 Dodge Ram CTD (267k) Past Diesels: 1983 300D (228K), 1985 300D (233K), 1993 300D 2.5T (338k), 1993 300SD (291k) |
|
#14
|
|||
|
|||
|
Sweet Writeup. Thanks
__________________
1985 300D 197K - Semi-Daily Driver Diesel 1998 Volvo V70 AWD 226K - Daily Driver 2 1998 Volvo S70 140K - Wife's DD 2003 GMC Sonoma ZR2 Option - Rusty Truck THE BABY 1958 220S Sedan 66K All original, never restored and never will be. |
|
#15
|
||||
|
||||
|
Awesome How To!
I Will be using this soon... |
 |
| Bookmarks |
|
|