

|
|
|
|
|
|
|||||||
 |
|
|
LinkBack | Thread Tools | Display Modes |
|
#1
 06-15-2012, 04:04 AM
|
|||
|
|||
|
My attempt to contribute with something to my W108. Rear Axle Refurbish
Well, It's time to start fixing the broken parts on my rear suspension.
The rest of the car is in great shape, however driving it is not a pleasure at the moment. The rear rattles each time the car changes gears, goes over road imperfections or takes corners. I have all the posible noises except the differential. (thank god) In the diagram below i need to replace #322 #353 #395 #335 Spring Pads Rear Brake hoses Shaft seal on the differential. A few shops told me they need to take the axle down and it requires about 5 hours of labor @ ~100$/h I think i can do this myself. In fact, I don't think i need to take the axle down if i do one thing at a time. The #324 part can be removed without removing the axle. I'm half way there. If i can get that replaced by myself, than the rest is easy. Spring pads can be done one at a time, as well as the brake hoses and the thrust arm bushings (one side at a time) I'm supporting the rear axle so it stays level and I don't damage anything. The shaft will have to be disconnected from the differential and i will be able to change the pivot bushings and the seal. I've ordered most of the parts. The mechanics told me the upper frame mount #353 doesn't require replacement, but i took it out today and it's in very poor condition. So that's the only part i don't have yet. I've invested in tools so much in the last years that it's good to put them at use once in a while. Has anyone done this before ? Any tips ? I'm taking pictures as i go so I will update this thread as the work continues. My advise: If you have a leaking or just wet differential than most probably your pivot bushing is probably shot #322. That damaged bushing will cause a play in the rear axle that will affect the trajectory of the car on the road. Feels like driving a boat. The alignemet of the car gets affected too. The part is limited availability and costs 350$ at the dealer. I sourced a place to get it fr cheaper, but i've never bought from them before. My mechanic needs that part too (he owns a classic benz shop and drives a W108 3.5) and asked me to get one for him if i find them cheaper. I ordered 2 pieces today and will let you know the details once i have them. Should be original Mercedes part. 
Last edited by MEPEH; 06-15-2012 at 01:20 PM. 
|
|
#2
06-16-2012, 01:36 AM
|
||||
|
||||
|
Your correct the axle does not have to be pulled down.
You may want to also look at the rubber on the cross strut (#371 and #384). Remember that the upper spring rubber thickness determines the camber of the rear wheels so make sure the new rubber is the same thickness.
__________________
Britton McIntyre 68 280 SE coupe 'Hairball' 70 280 SL 71 280 SEL - RIP May 2010
|
|
#3
06-16-2012, 04:18 AM
|
|||
|
|||
|
Quote:
371 and 384 looks good. I don't want to take the cross strut apart, i bit concerned with the geometry if i disassemble it.
|
|
#4
06-16-2012, 04:24 AM
|
|||
|
|||
|
Here're some pictures i took so far.
Removing the rear subframe mount. 24mm on the main nut and 17mm on the 4 bolts that hold it to the frame. The mount is damaged, but not significantly. I assume that with all the rest of the components in poor shape, it was taking a lot of stress. 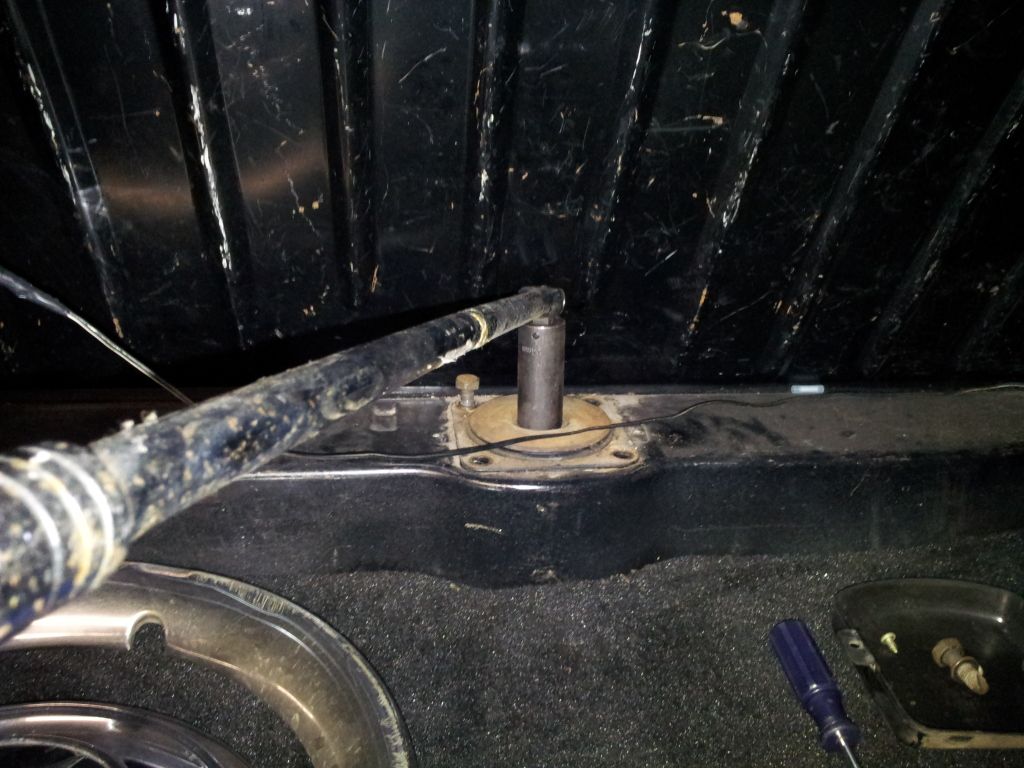 Messy Rear Axle 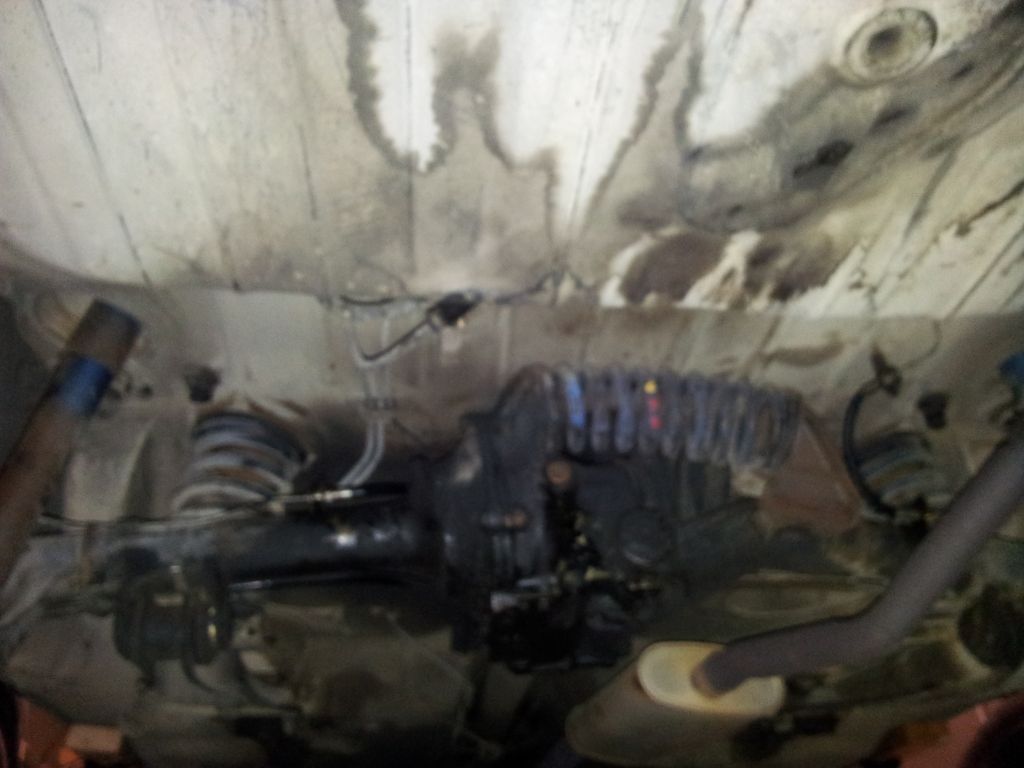 Notice the lower Spring Shim is all crumbled 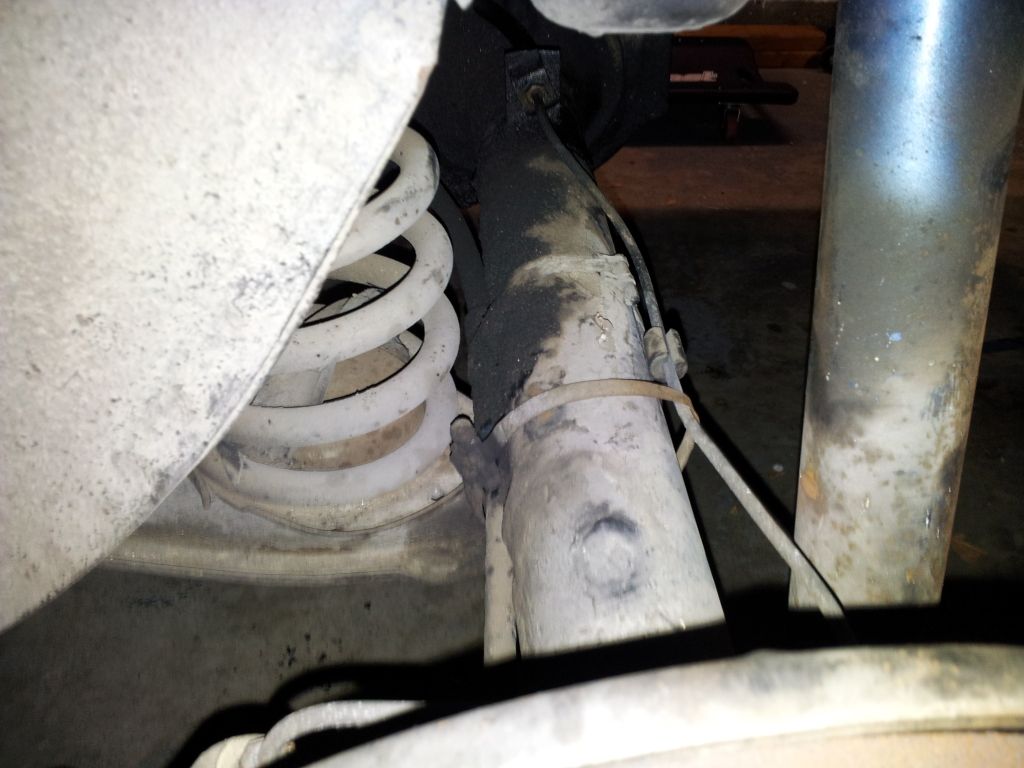 Rearward Thrust Arm Bushings collapsed 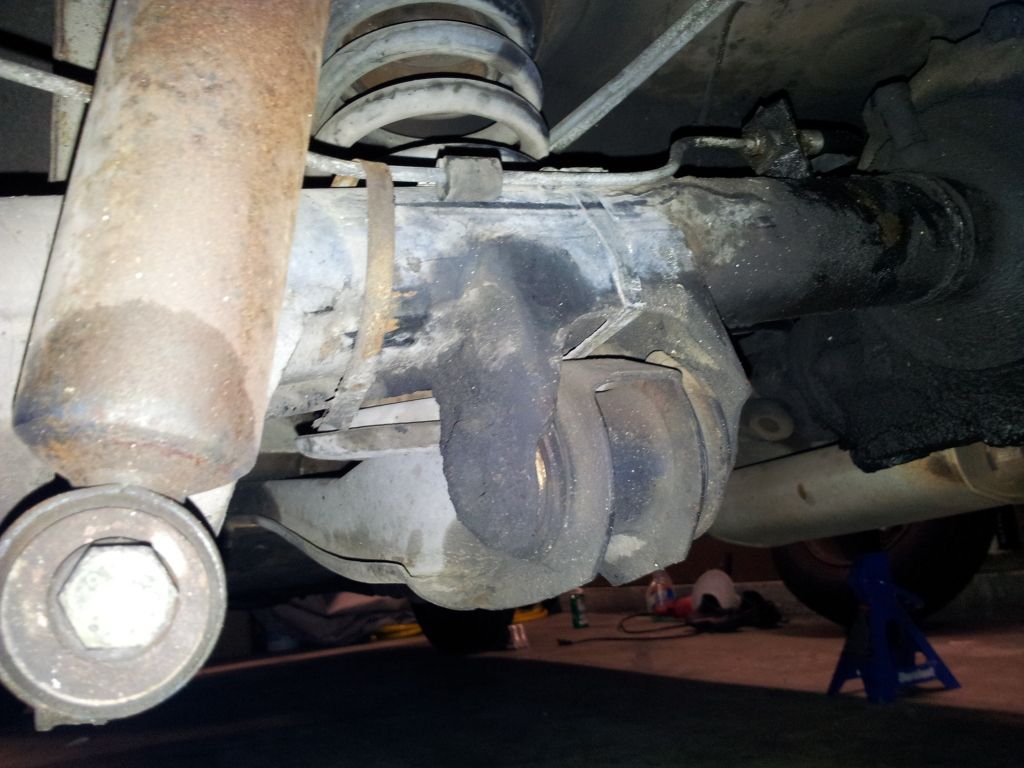 Forward thrust arm bushing deteriorated 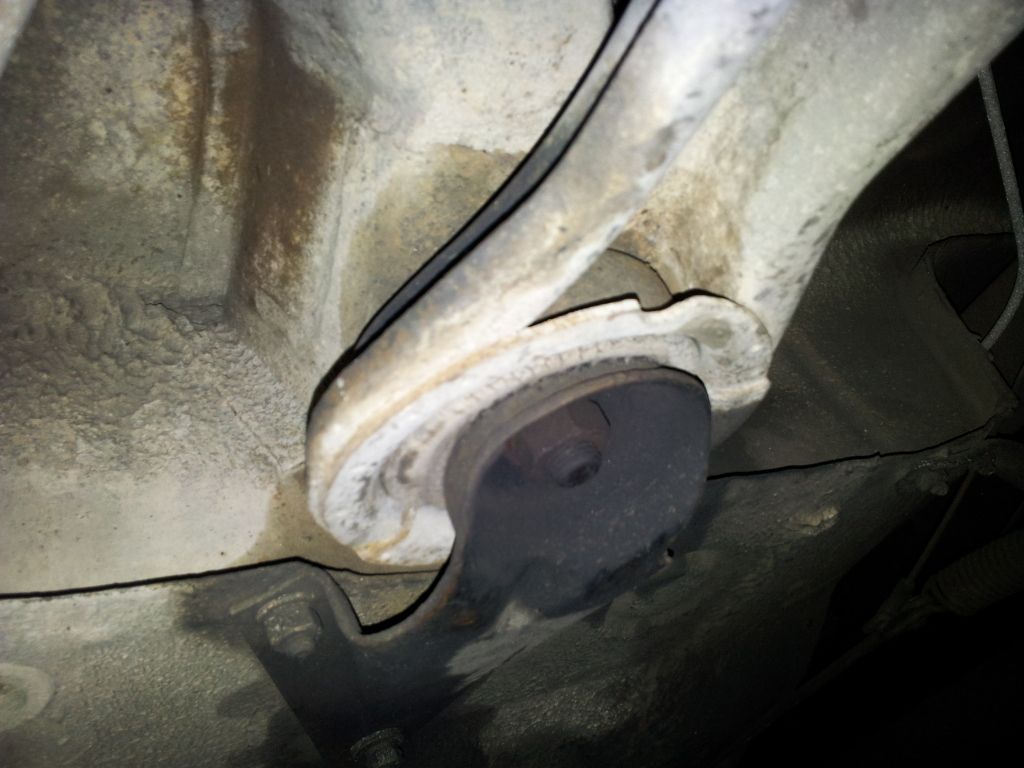 Differential Poop 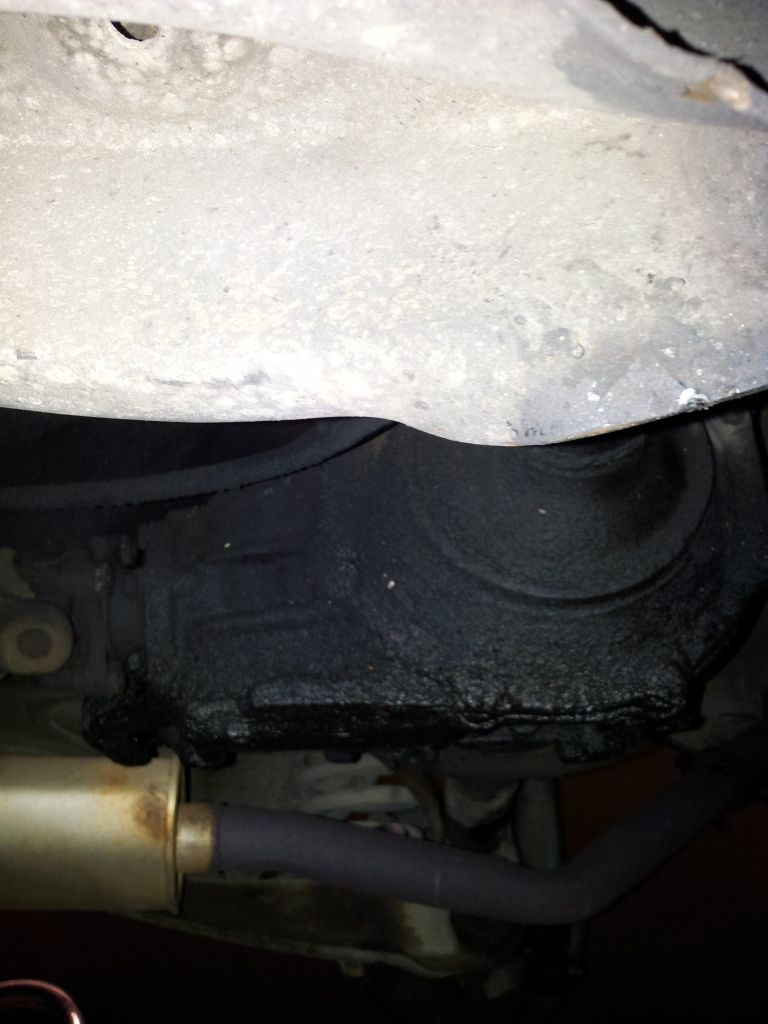 The rust under the brake hose is actually brake fluid that leaked. All brake hoses are shot and swollen 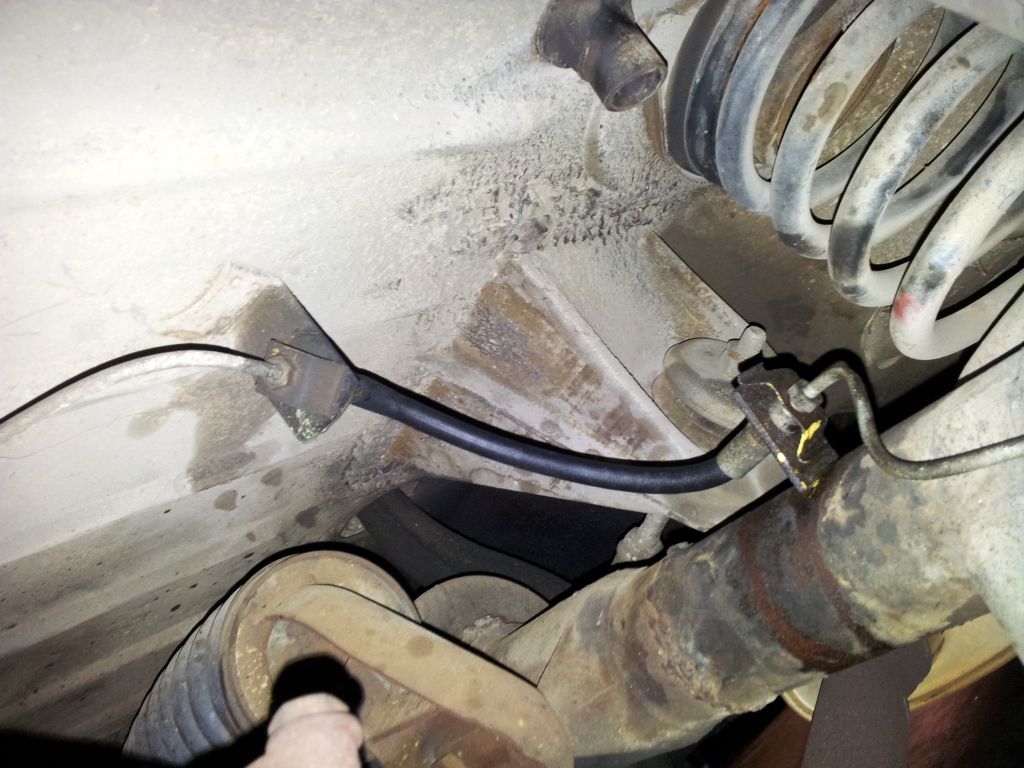
|
|
#5
06-16-2012, 09:43 AM
|
||||
|
||||
|
Note when replacing the thrust arm bushings (#395) on the conical shaft, they go in the opposite way from what you'd think - small hole goes up, large hole down.
There's also some info to be found at sl113.org, it's a very similar setup to the 108 rear end. IIRC there's some writeups w photos over there.
|
|
#6
06-16-2012, 03:45 PM
|
|||
|
|||
|
$$ Part 322 pivot bushing. $$
I beat that price by replacing the rubber with a piece of machined Delrin You must burn out the old rubber sand clean the metal and ask me for the CAD drawing or have my shop guys machine the Delrin. bushing material (Ebay $20) and machining cost $60 made two The 345 bushings (4) are a trick to install. get new snap (342) rings. I've done this task complete a few times and now have 5 spare rear axle assemblies to do ALL work to, and then swap out and in about two days. The biggie now The axle bearings and seals must be addressed as they will leak next. The flex boot usually is good, The internal universal joint can and does go bad then it's time for the pick-a-part axle and do it again.
|
|
#7
06-18-2012, 01:25 AM
|
|||
|
|||
|
Thanks for the input guys.
Was able to loosen the nut on the differential flange. The one that requires the special tool. Looks like someone already savaged that nut. I'm pretty sure it wasn't tighten to the correct torque specifications. The nut was forced with a hammer. Looks very ugly. I was able to loosen it almost to the end and it gut stuck. Guess i just need a bigger hammer. The bearings sounded bad too. Like grinding. But i didn't hear a noise when i drove it. I was able to hear the grinding after i disconnected the shaft. So this is what i need now http://www.sls-hh-shop.de/popup_image.php/pID/2887/imgID/0 I'd really like to hear what my alternatives are for that nut. Don't really want to buy that 120$ socket. http://startekinfo.de/etools/content/tool.jsp?toolno=111%20589%2005%2007%2000 (Thanks Arthur)
|
|
#8
06-18-2012, 12:37 PM
|
||||
|
||||
|
Here is a good write up of the general procedure:
3,27 axle checkout, reseal, repair & install
__________________
 Tony H Tony HW111 280SE 3.5 Coupe Manual transmission Past cars: Porsche 914 2.0 '64 Jaguar XKE Roadster '57 Oval Window VW '71 Toyota Hilux Pickup Truck-Dad bought new '73 Toyota Celica GT
|
|
#9
06-18-2012, 01:45 PM
|
|||
|
|||
|
Quote:
The one thing i don't want to do is take the differential and axles out. By the look of the rear axle, it seems like it was recently PARTIALLY serviced. New brake calipers, new pads, new axle seals (hopefully bearings too) The differential was very quite and i see no need to get that apart. Even though the axle looks like an old tractor engine, the fluid level was perfect. I'm mostly concerned with the suspension parts. All rubber bushings on thrust arms, spring pads, axle pivot bushing, pinion seal needs to be replaced either way. And rear brake hoses. I'm trying to avoid removing the rear axle from the car. It's the installation that freaks me out. Dropping it is not hard, but putting it back by myself in my garage on jack stands is challenging.
|
|
#10
06-18-2012, 08:43 PM
|
||||
|
||||
|
I will be replacing the pinion seal sometime next month and the only thing which concerns me is the crush sleeve. The Pagoda SL Group has extensive disscussions about the proper torque setting for the pinion nut. One, its not easy and Two, if the nut is over torqued the crush sleeve will become damaged. Resulting in the need for a rebuild. Spend the $120 its less expensive that a rebuild.
Login So read the that Tony H provided 3,27 axle checkout, reseal, repair & install and also look at these. Differential Pinion Seal Differential Pinion Seal Also look in the Big Blue Book After looking at your photos it appears that you cross strut rubber is severely compressed. I just recently replaced mine and I also believed they were OK. It was only after a process of eliminating the problems of rear end ride height and rear wheel camber that I understood that if you replace one it is always best to replace all. The rear end was too high and different for each side. The camber was also positive and also different for each wheel. After replaceing the cross strut rubber the wheels became more positive but were now the same. This made it very easy to determine the proper thickness for the upper spring rubber thus obtaining the correct camber. I believe that changing the cross strut rubber will not affect the geometry of the axel position. Just make sure that you tighten the nut back to its original position. Assuming that everything is original and has not been messed with in the past. I have done this twice with zero problems. PS if you do run into problems with the geometry the Pagoda SL Group has this DIY for an alignment tool http://www.sl113.org/wiki/DriveShaft/RearAxle Good Luck
__________________
Britton McIntyre 68 280 SE coupe 'Hairball' 70 280 SL 71 280 SEL - RIP May 2010
|
|
#11
06-18-2012, 08:55 PM
|
|||
|
|||
|
Quote:
|
|
#12
06-19-2012, 01:25 AM
|
||||
|
||||
|
I just looked it up. It is 149 lbs torque for the flange nut on the pinion seal.
I can see that it may be better just to remove the axle. As long as you have a lift it is very straight forword. The most difficult part about the install is the thrust arms. It is extremly difficult to line up the front of it to the mounting point. Otherwise it is not too difficult, just time consuming. I understand your apprehension because I have done it twice on jack stands with me on the ground (by myself). After cleanning you could also touch up the paint. Do you plan on replacing the compensating spring rubber? If so I have found it a lot easier to change out the rubber while the axle is still on the car than off. If your interested in my method let me know. Where did you find the socket for sale? I may have to buy one myself. I'm hopping that I will be able to borrow one at the next Mercedes Club tech session.
__________________
Britton McIntyre 68 280 SE coupe 'Hairball' 70 280 SL 71 280 SEL - RIP May 2010
|
|
#13
06-19-2012, 03:28 AM
|
|||
|
|||
|
Quote:
Wasn't able to locate the 4 pin socket for the pinion nut. I've read a few threads where people mentioned 120$ prices for that tool. I can get my mechanic to do it for a fraction of that price, if i bring him the axle. Or borrow the tool and the preload wrench. I'll et you know if i find one. My problem is that the nut is damaged and I need to find a solution. Preferably one that doesn't require a 120$ socket. 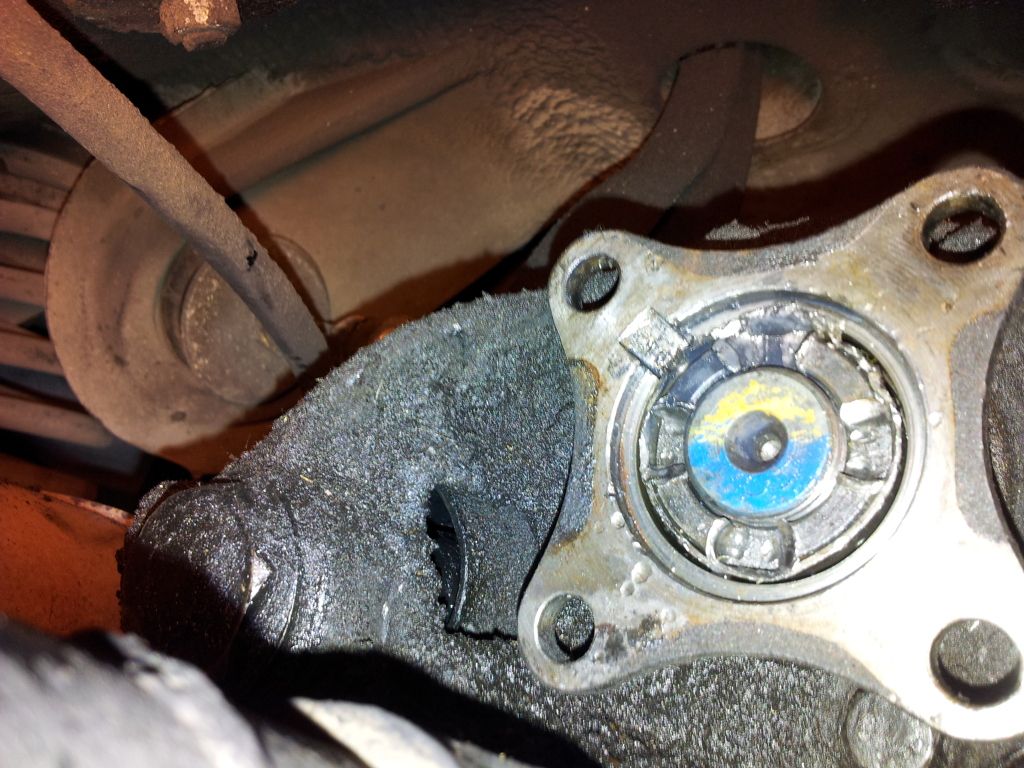
|
|
#14
06-19-2012, 09:12 AM
|
||||
|
||||
|
Re the pinion seal socket, Ron B said on a previous pinion seal thread, "I use a punch all the time to undo them ,mainly because i am going to replace the nut , but what you can do is check out a place that sells used tools,such as pawn broker. Buy a 1/2" or 3/4" drive 36-38 mm socket and use a disc grinder to shape the four tangs .Dress it up with a file and you have your tool."
|
|
#15
06-19-2012, 12:03 PM
|
|||
|
|||
|
Quote:
That nut can't be re-used or the next person to get in there will send me bad karma  And since i'm replacing the nut, i might as well get one that doesn't require the 'hi-tech tool' ?
|
|
| Bookmarks |
|
|


 Linear Mode


