Onto the defrost pod:
1) I had planned to do this with the dash in place but the energy level just ain't what it used to be. I took pictures during dash install
ation (install is a verb, not a noun!) to show that it's very accessible. Here you see the dash in place but glovebox liner out -
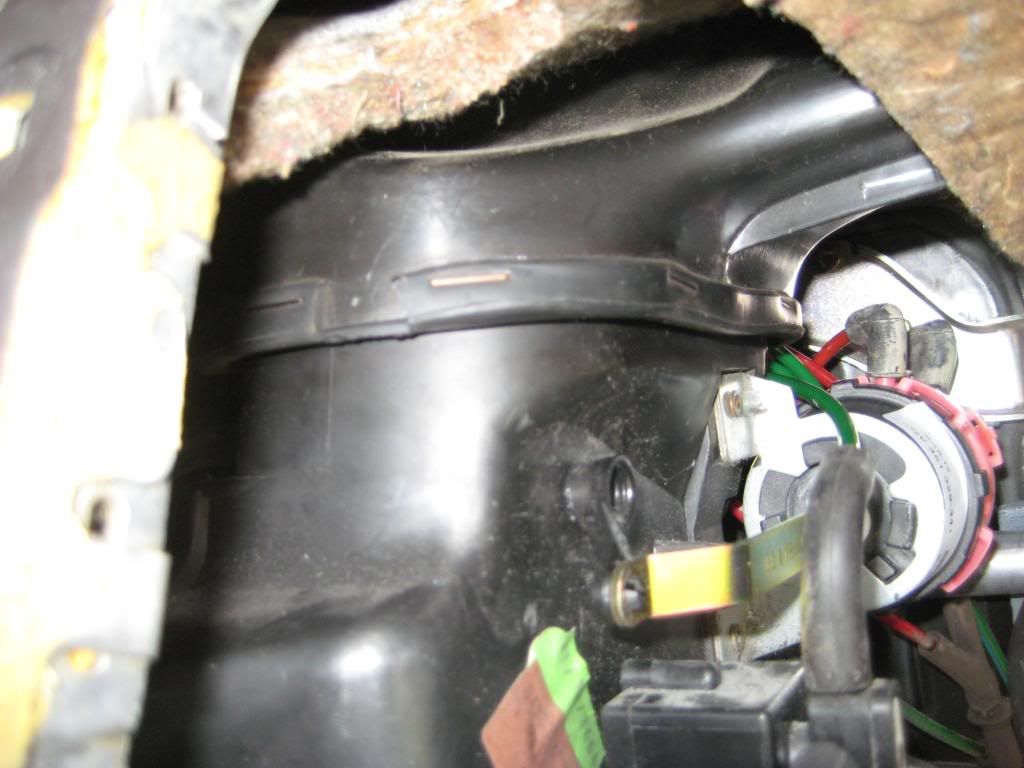
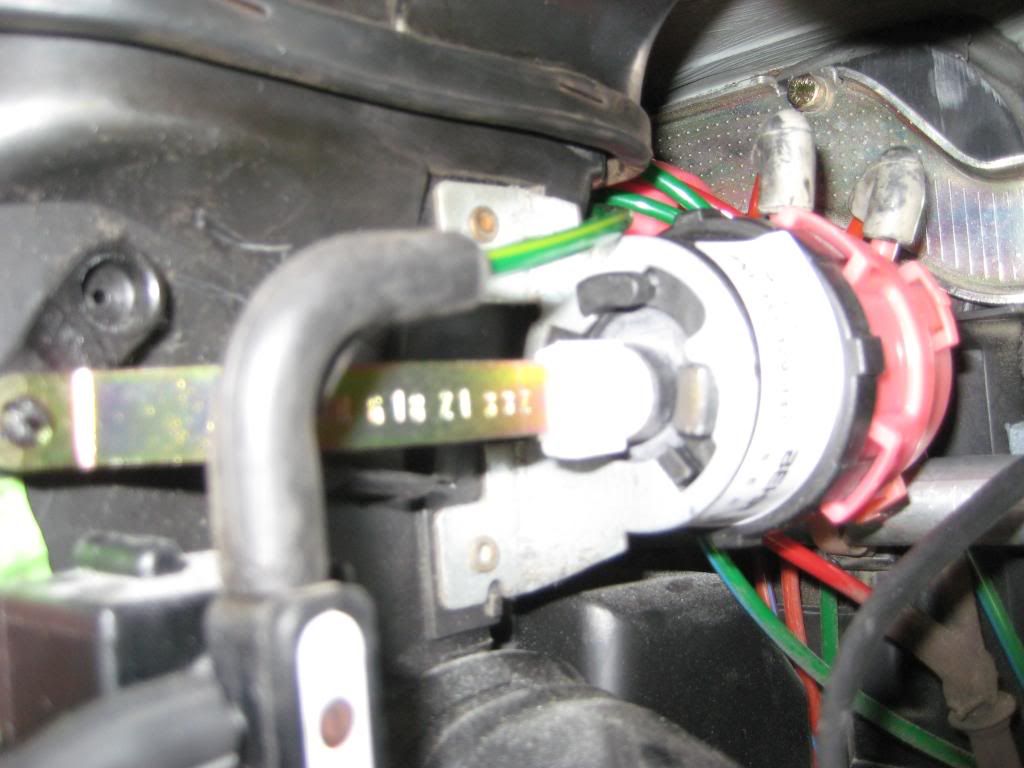
2) A better angle with the dash off -
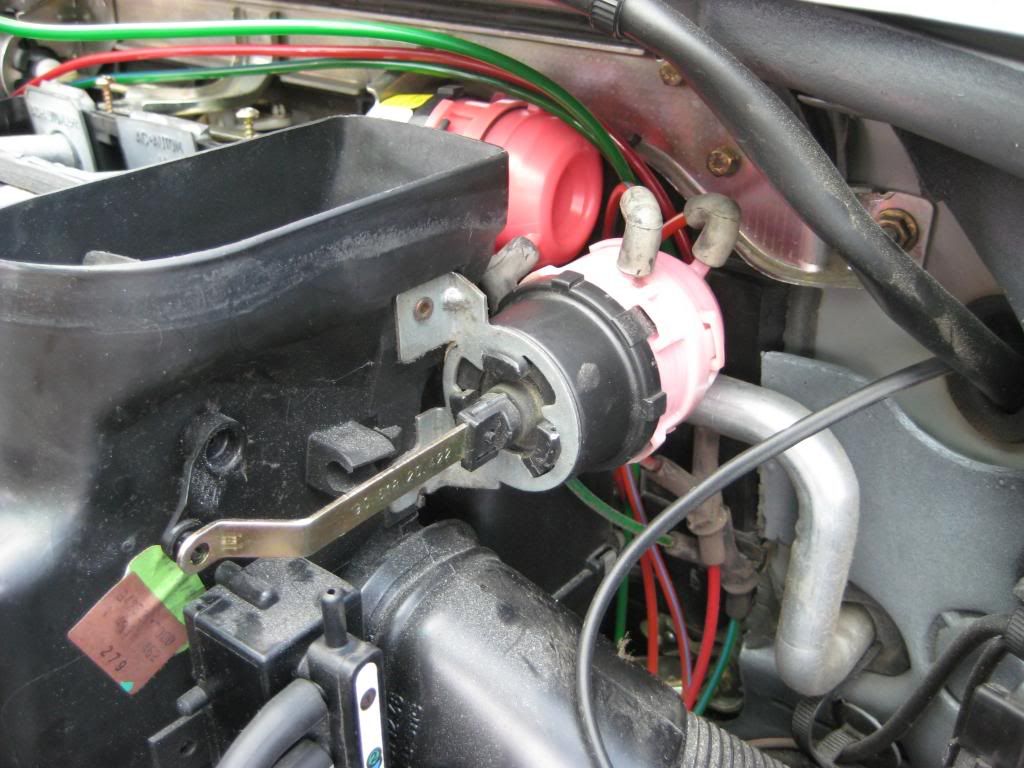
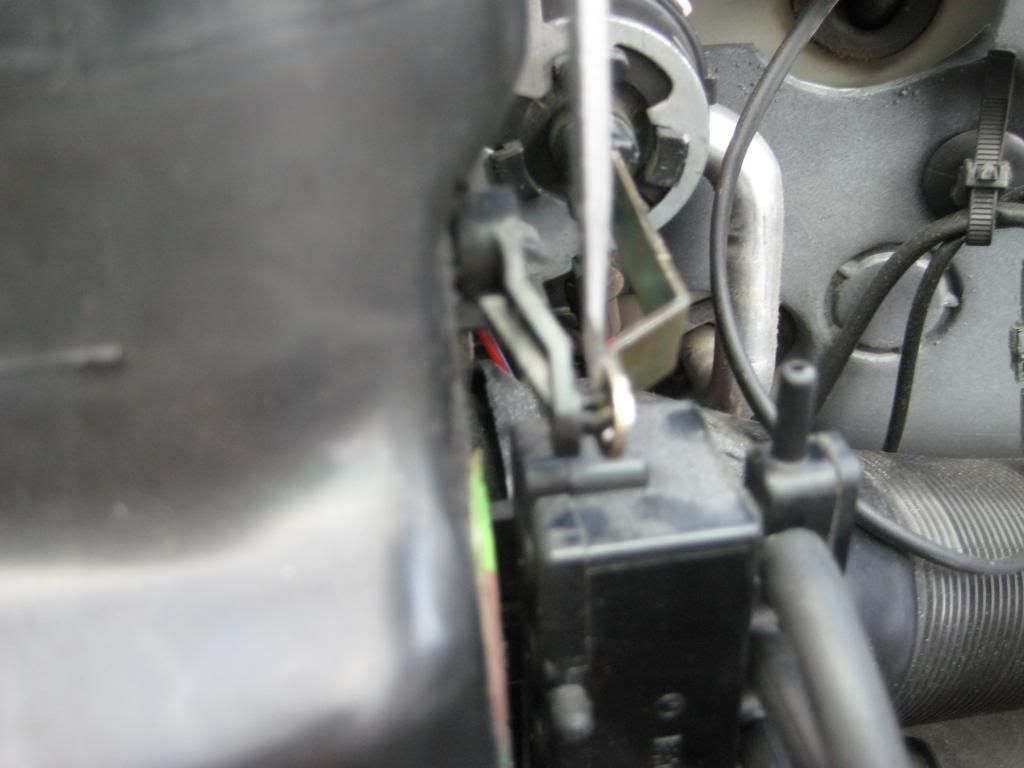
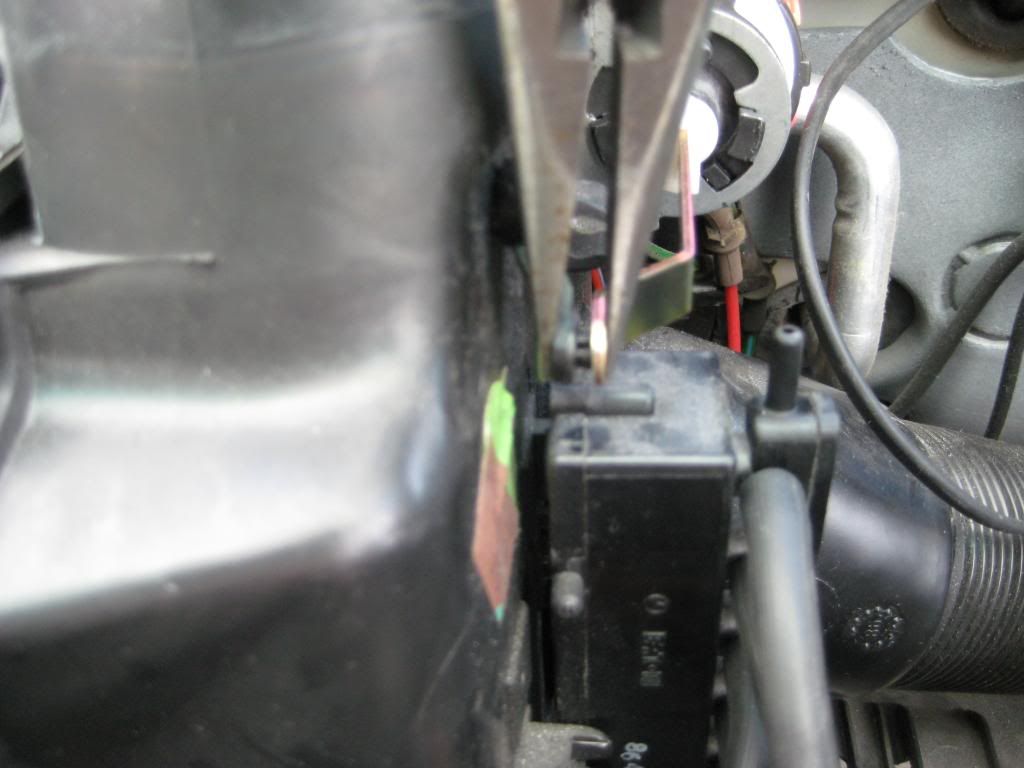
3) Let's mix things up and start by releasing the far end of the actuator rod from the plastic clip on the bellcrank. It's going on at the center of the picture but the camera decided to focus on the bulkhead to the right. There is a big bend in the actuator rod towards the bellcrank so it's unlikely you'll miss it. But you're relying on me for help so I shouldn't be so sure -
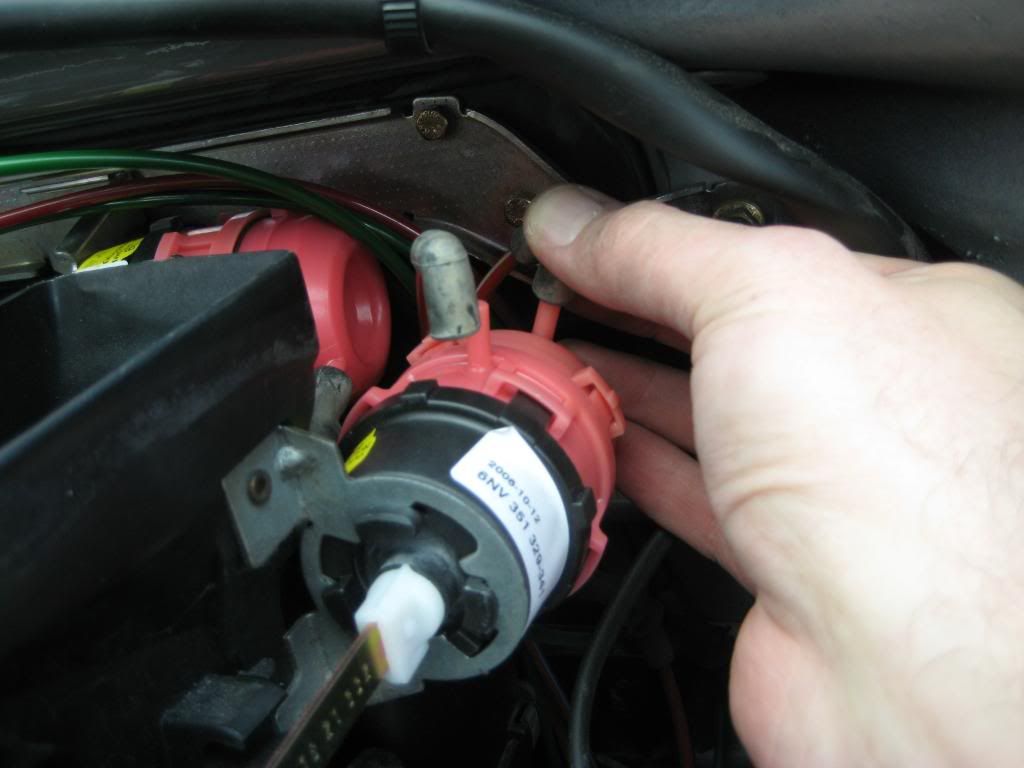
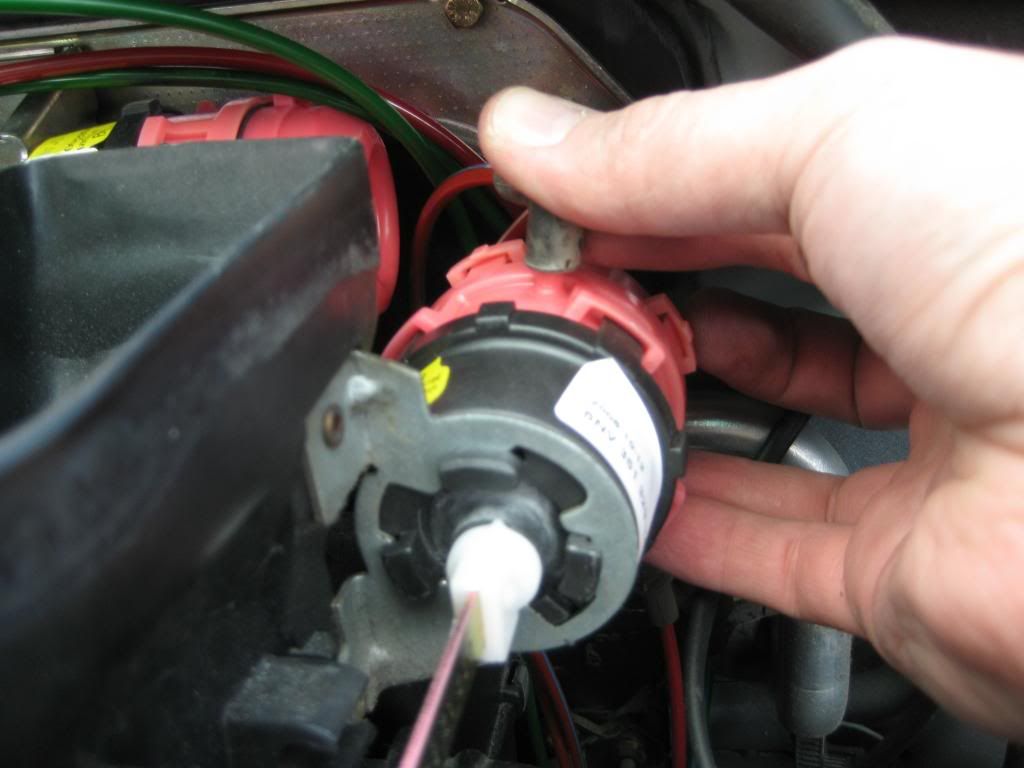
4) Note the position of the hoses then pull them off. Note that they're both red! One has a stripe and one doesn't or they have different stripes -

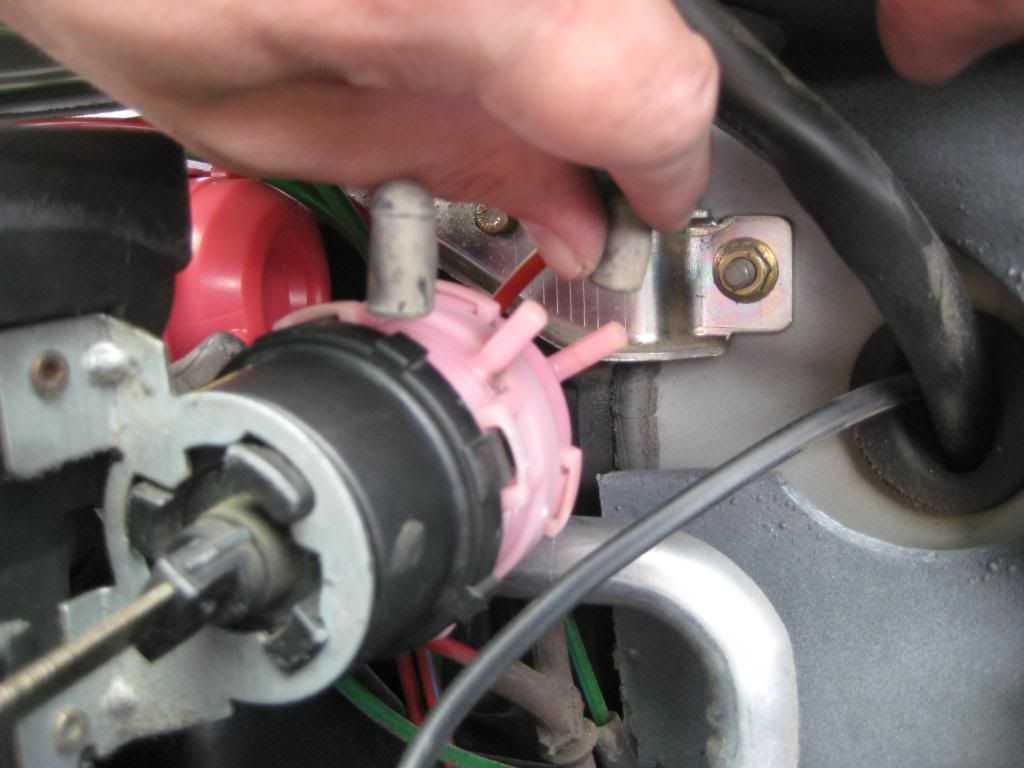
5) Push in the locking tab at the 5 o'clock position and turn the pod CW to align the tabs... zzz... with the slots... zzz... in the bracket... zzz... Yes, I was falling asleep. Note the hoses are still atached as I release the pod from the bracket -
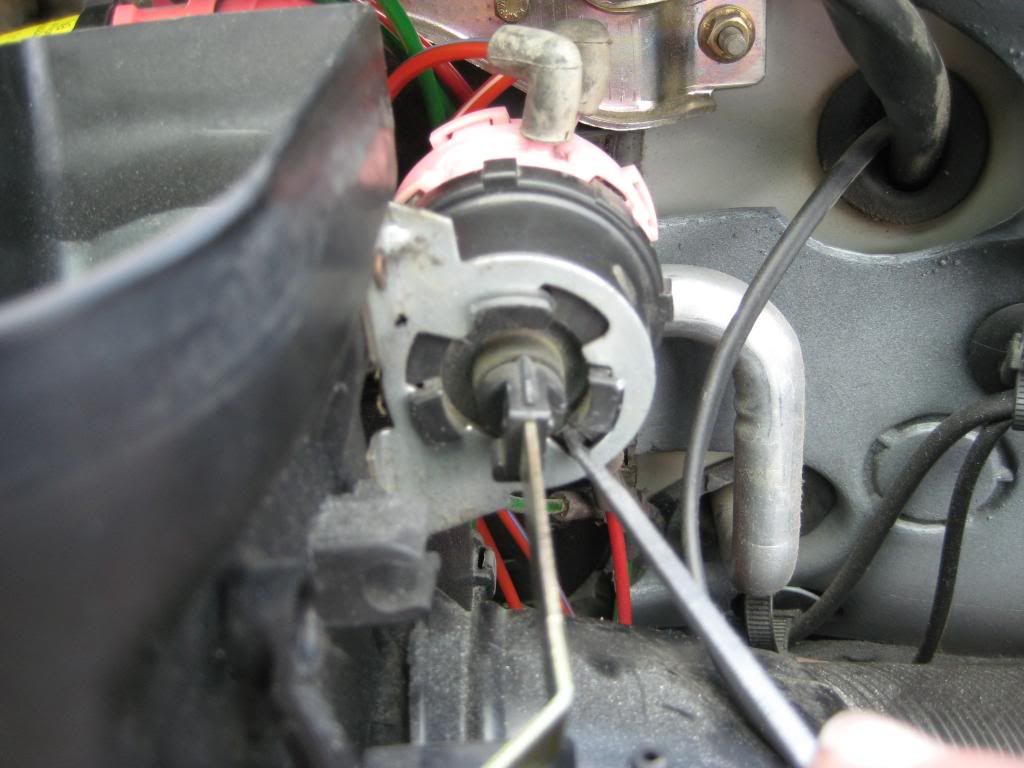
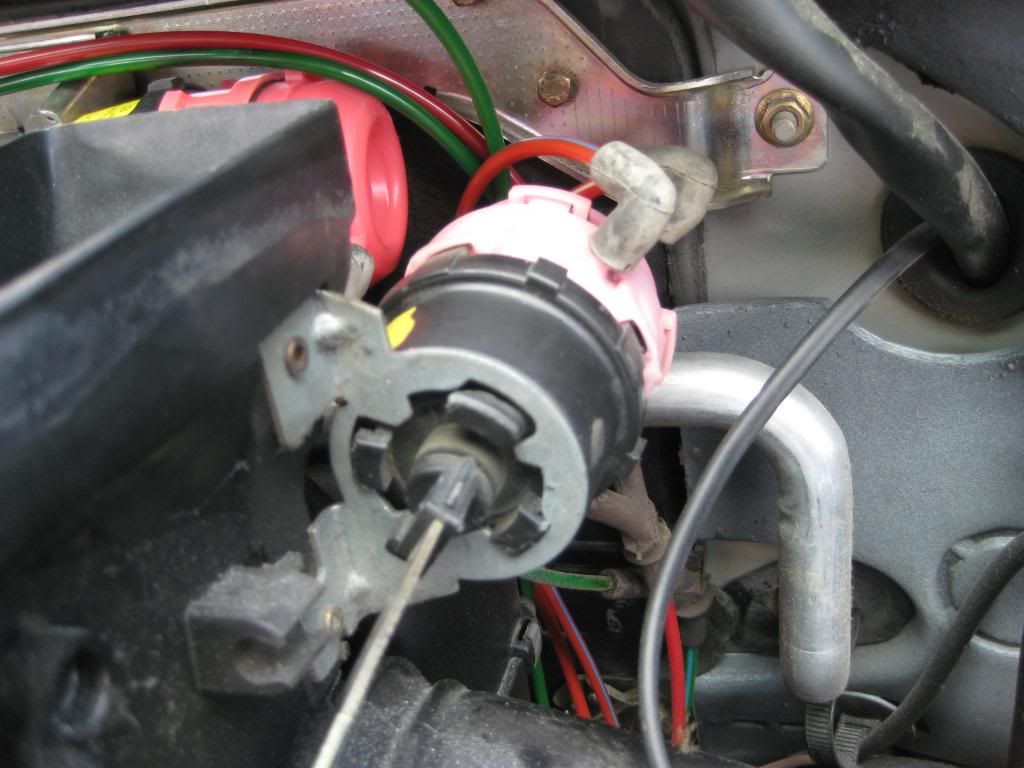
6) Pull the pod tabs clear of the bracket then turn hard starboard. Oops, I jumped the gun. That's the new pod going in rather than the old pod going out. Well, coming in directly from the right is an easy way to get the new pod in place -
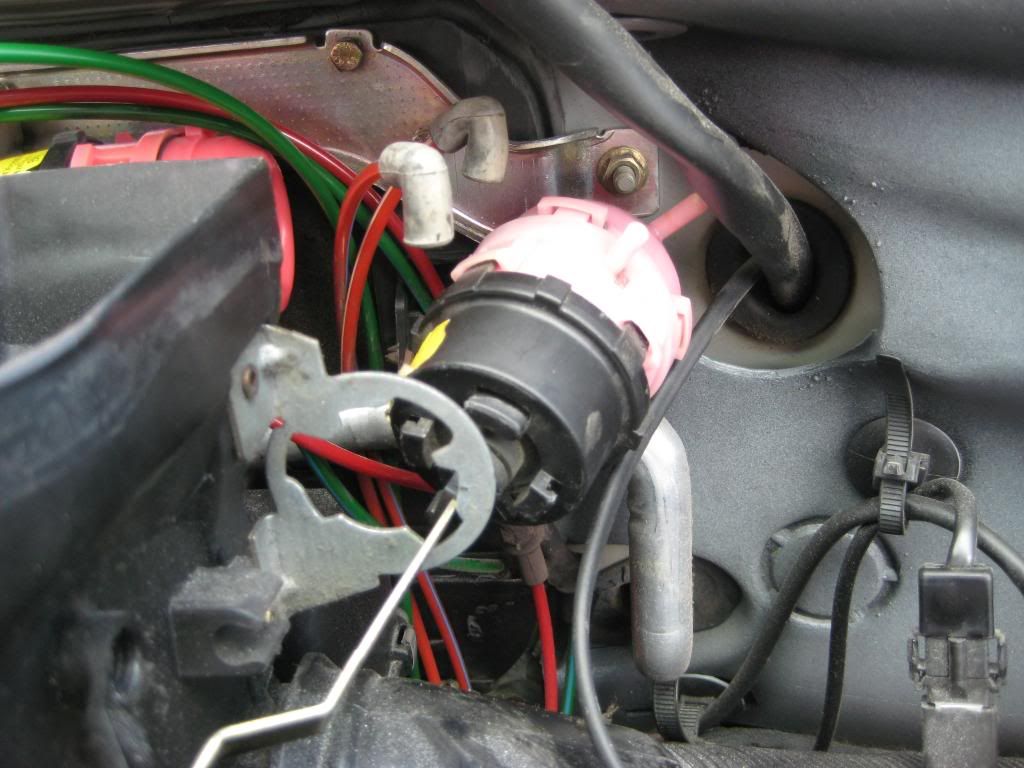
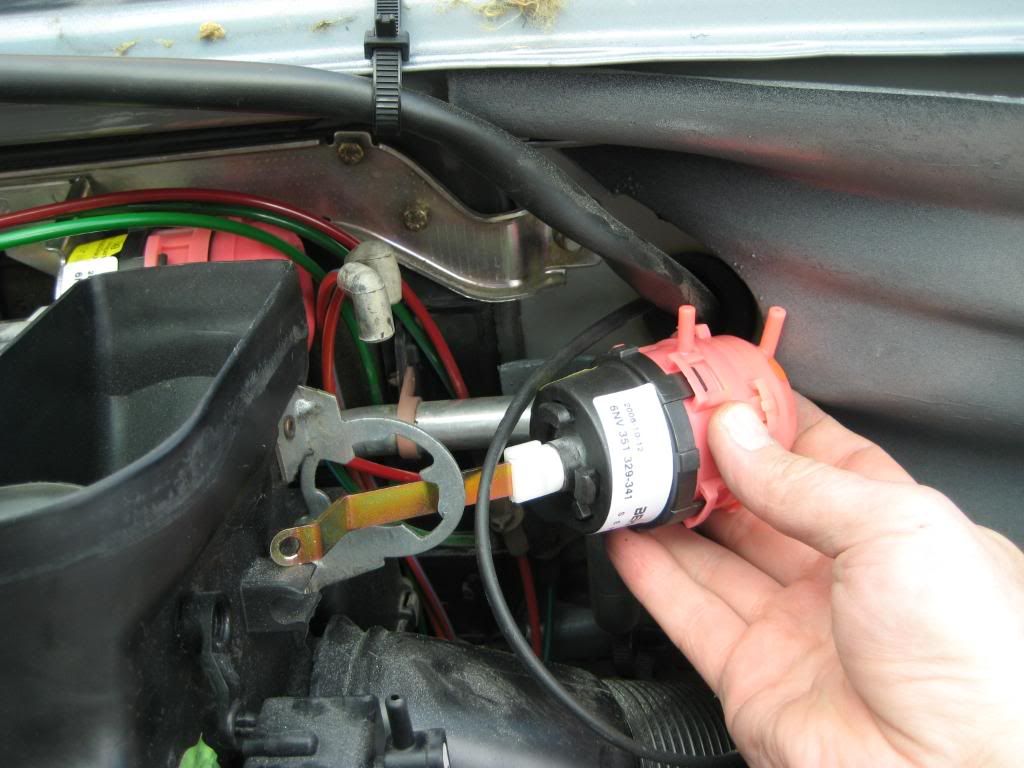
7) Set the new pod in place then align the tabs with the bracket (it only goes in one way) -
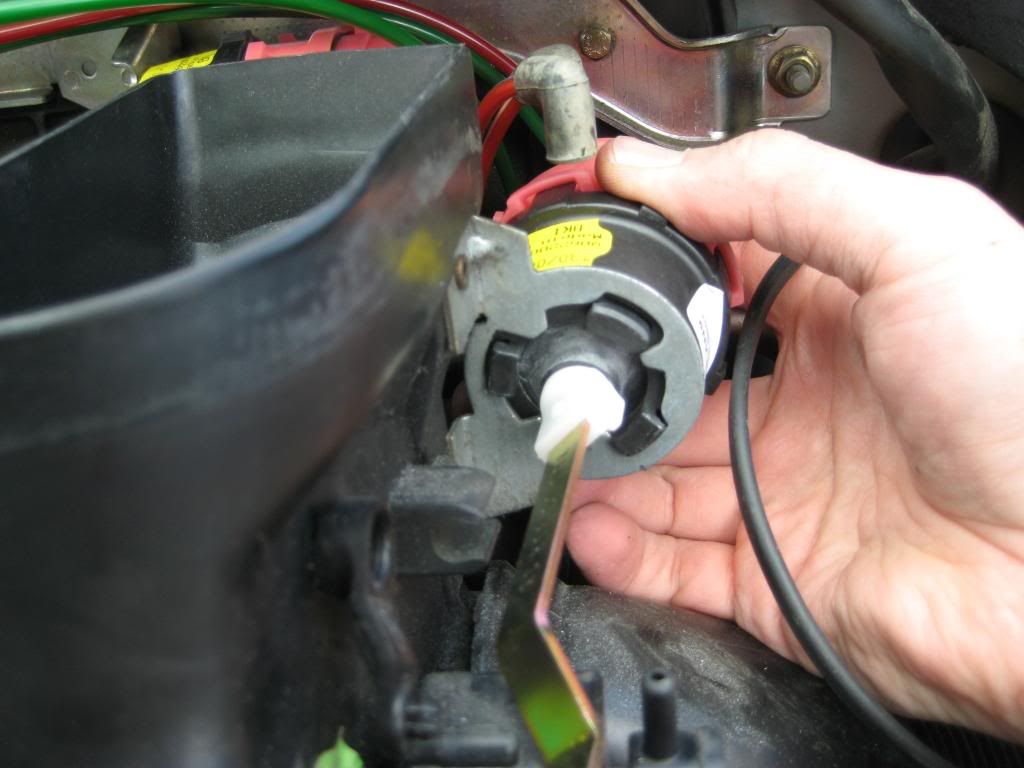
8) Turn the pod CCW until the tabs contact the bracket and you hear/feel the locking tab snap into place -
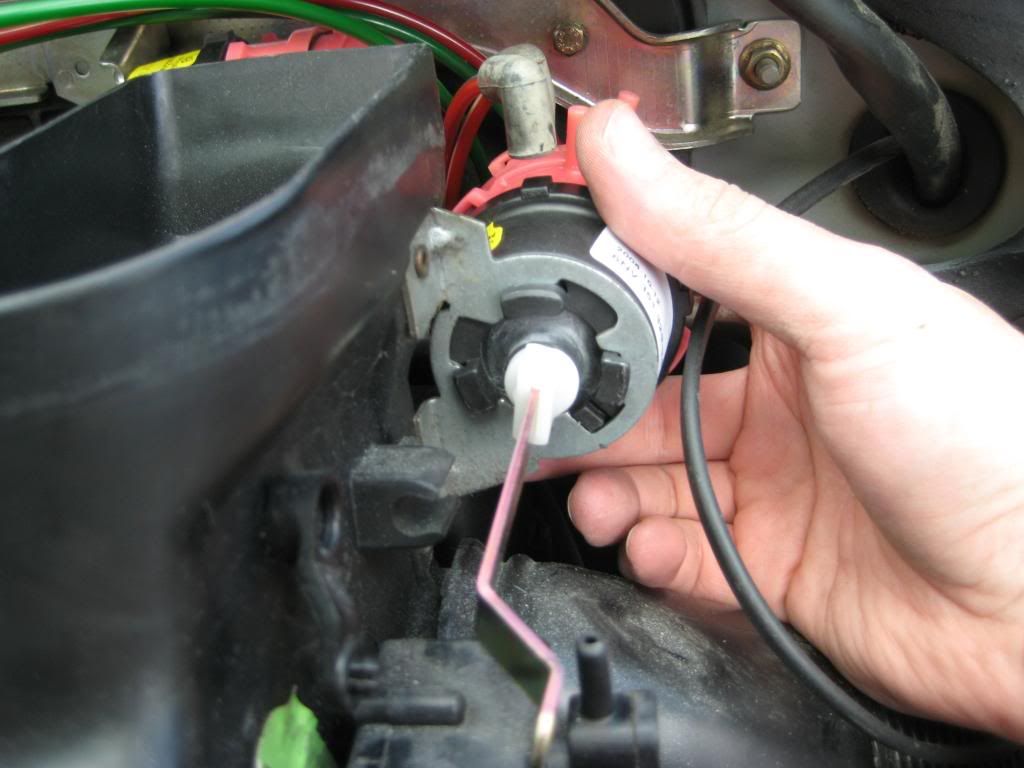
9) Rotate the actuator rod so the end is by the clip on the bellcrank and snap the rod onto the bellcrank -
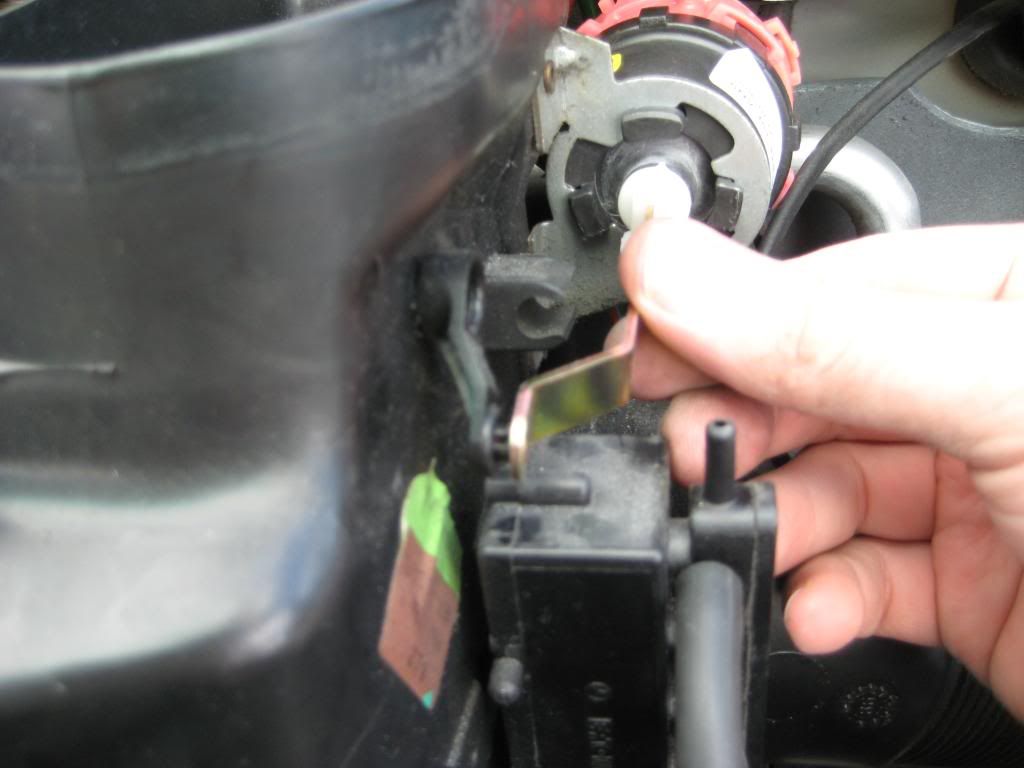

10) Put the hoses in place -
That should so it!
Sixto
87 300D